What is Vue
Vue.js is an open-source model–view–viewmodel front end JavaScript framework for building user interfaces and single-page applications. It was created by Evan You. From its official documentation “Vue is a JavaScript framework for building user interfaces. It builds on top of standard HTML, CSS and JavaScript, and provides a declarative and component-based programming model that helps you efficiently develop user interfaces, be it simple or complex.”
Components basics
The way we build apps and websites in Vue is different than using pure HTML, CSS, and JavaScript. In Vue, the app is like a tree of components.
Two ways to write Vue components
There are two ways to write Vue components: the old (classic) way, by using Vue class component, and the new (modern) way by using script setup and composition APIs.
File structure in both ways
Vue follows the same file structure in both ways. First, each component should be in a separate file with the .vue extension, and each Vue file contains three sections.
<template>

We write the HTML template here.

</template>

<script>

// We write the JavaScript logic here.

</script>

<style>

/* We write the CSS styles for the component here. */

</style>
Both ways share the same file structure. The only difference is in the <script> section.
In the Vue class components way
The <script> section should return the Vue object like this:
<script>
export default {
	name: “component-name”,
	props: {
		// …
	},
	data() {
		// …
},

// …

}
</script>
Then we use script setup:
<script setup>

// We put our component’s JavaScript code here:

</script>
The new way is more minimal, and we access all the Vue component class features using composition APIs (it’s more like React hooks for React if you’re familiar with React).
Component Registration
Each component you create in your Vue app should be registered so Vue knows where to locate its implementation when it is encountered in a template.
To register your component in another component, you should add it to the components property in the Vue object.
<template>
 	<AnotherComponent />
</template>

<script>
import AnotherComponent from './AnotherComponent.vue'

export default {
  components: {
    AnotherComponent
  }
}
</script>
In the script setup way, you don’t need to manually register components. They are being registered automatically when you import them:
<script setup>
import AnotherComponent from ‘./AnotherComponent.vue’;
</script>

<template>
	<AnotherComponent />
</template>
Props
Props allow developers to pass data from the parent component to children components. Vue components require explicit props declarations so that Vue knows what external props passed to the component should be treated as fall through attributes.
<AnotherComponent message=”Hello world!” />
To declare props in your component, you should add them in the props property in the Vue object:
<script>
export default {
  props: {
    title: String,
    likes: Number
  }
}

</script>
For each property in the object declaration syntax, the key is the name of the prop, while the value should be the constructor function of the expected type.
Note: it’s important to declare each Prop’s type too to avoid errors in production.
In script setup, you define props with defineProps() from composition APIs:
<script setup>
const props = defineProps({
	title: String,
	likes: Number
})
</script>
Now let’s build a todo app
The best way to practice these concepts is by building a small app.
First, let’s initialize a new project using Vite:
npm init vite@latest
Or you can use Stackblitz like me in this tutorial. Go to the Vite tab and choose Vue:
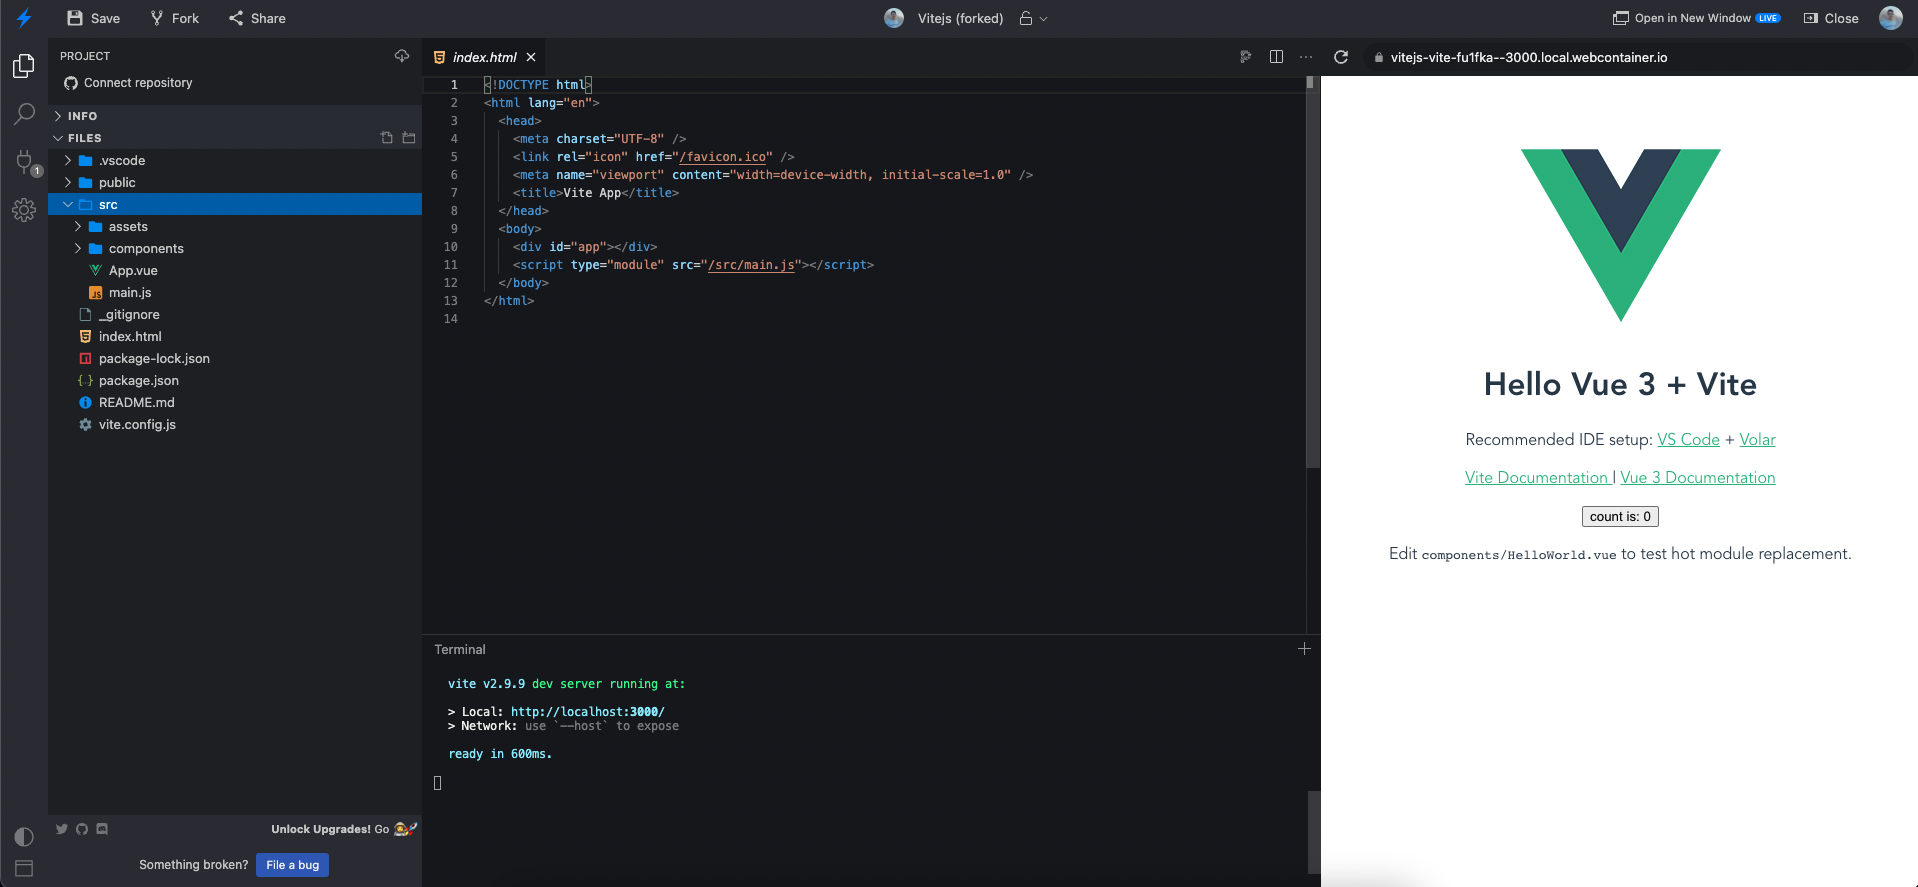
Go to App.js, remove its content, and add the title.

Let's create the List component where we will show the user all of the todos.
<script setup>
defineProps({
  todos: Array,
});
</script>

<template>
  <ul>
    <li v-for="todo in todos">
      {{ todo }}
    </li>
  </ul>
</template>
As you see, it's a very simple component. We just pass the todos array as a prop, and then use v-for to print it.
Then, import the list component so we can use it in App.js.
<script setup>
import List from './components/List.vue';
</script>

<template>
  <h1>Todo List</h1>
  <List />
</template>
Now, let's create the form to add todos from.
<template>
  <h1>Todo List</h1>
  <List />

  <form>
    <input type="text" placeholder="Write a new task" />
    <button type="submit">Add</button>
  </form>
</template>
We will now need to add the states. In the new approch, we use ref().
<script setup>
  import { ref } from 'vue';

  const todos = ref([]);
  const newTodo = ref("");
</script
todosis where we will store all the todosnewTodois to store the current form value
Then, we need to bind these states with the <List /> component, and the form input.
<List :todos="todos" />
<input type="text" placeholder="Write a new task" v-model="newTodo" />
Finally, we need to create the submit function to add a new todo on submit, and clear the form for a new one.
function handleSubmit() {
  todos.value.push(newTodo);
  newTodo.value = '';
}
Then, bind this function with the form.
<form @submit.prevent="handleSubmit">
Here is the complete project for you to check out and try yourself!
If you need additional assistance, feel free to reach out to me on Twitter!
About the author