Have you ever wanted to build a mobile application using a language you already know?
In this tutorial, we'll learn how to start building a mobile application using Svelte and NativeScript.
What is NativeScript
NativeScript is a framework that will allow you to write Native apps using JavaScript or Typescript and, at the same time, it allows you to access platform-specific Native APIs.
Setting up your environment
The very first step to developing with NativeScript is installing all the required dependencies. If you're lucky, you'll already have everything installed. But if not, we'll see how to get it to work.
The first thing (assuming you already have Node installed) is to install NativeScript globally.
npm i -g nativescript
For this tutorial, I'll be developing an iOS application.
The best way to check if your environment is prepared is to use the command provided by NativeScript.
ns doctor ios
There's an equivalent command for android if that's your target OS.
If you are missing anything, you'll get a bunch of messages with the requirements needed.
In my case, I had to install XCode, Ruby, Some Gems, and Python libraries. Please refer to the setup guide to check what you need (macOS + iOS, for me).
It's important to have your environment ready. Otherwise, we will not be able to run our project.
✔ Getting environment information

No issues were detected.
✔ Xcode is installed and is configured properly.
✔ xcodeproj is installed and is configured properly.
✔ CocoaPods are installed.
✔ CocoaPods update is not required.
✔ CocoaPods are configured properly.
✔ Your current CocoaPods version is newer than 1.0.0.
✔ Python installed and configured correctly.
✔ The Python 'six' package is found.
✔ Xcode version 13.4.1 satisfies minimum required version 10.
✔ Getting NativeScript components versions information...
✔ Component nativescript has 8.3.2 version and is up to date.
✔ Component @nativescript/core has 8.3.2 version and is up to date.
✔ Component @nativescript/ios has 8.3.2 version and is up to date.
Starting a new project
Now that our environment is set up, let's start a new project. We are going to base this example app on this sample from the NativeScript samples page. However, we will add more to it, like including HTTP requests, and a List/Detail navigation.
ns create sveltapp --svelte
✔ Do you want to help us improve NativeScript by automatically sending anonymous usage statistics? We will not use this information to identify or contact you. … no
The command will create a Svelte + NativeScript project, and install the required dependencies.
Our folder structure will look like this:
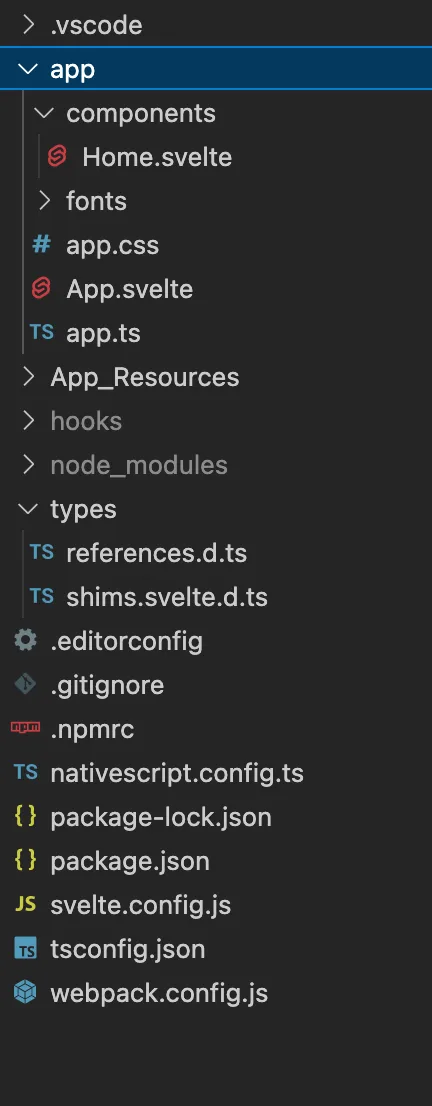
We'll be focusing on the /app folder where our JS/TS will be added.
<!-- components/Home.svelte -->
<page>
<actionBar title="Home" />
<gridLayout>
<label class="info">
<formattedString>
<span class="fas" text="" />
<span text=" {message}" />
</formattedString>
</label>
</gridLayout>
</page>
<script lang="ts">
let message: string = "Blank Svelte Native App"
</script>
<style>
.info .fas {
color: #3A53FF;
}
.info {
font-size: 20;
horizontal-align: center;
vertical-align: center;
}
</style>
<!-- App.svelte -->
<frame>
    <Home />
</frame>

<script lang="ts">
    import Home from './components/Home.svelte'
</script>
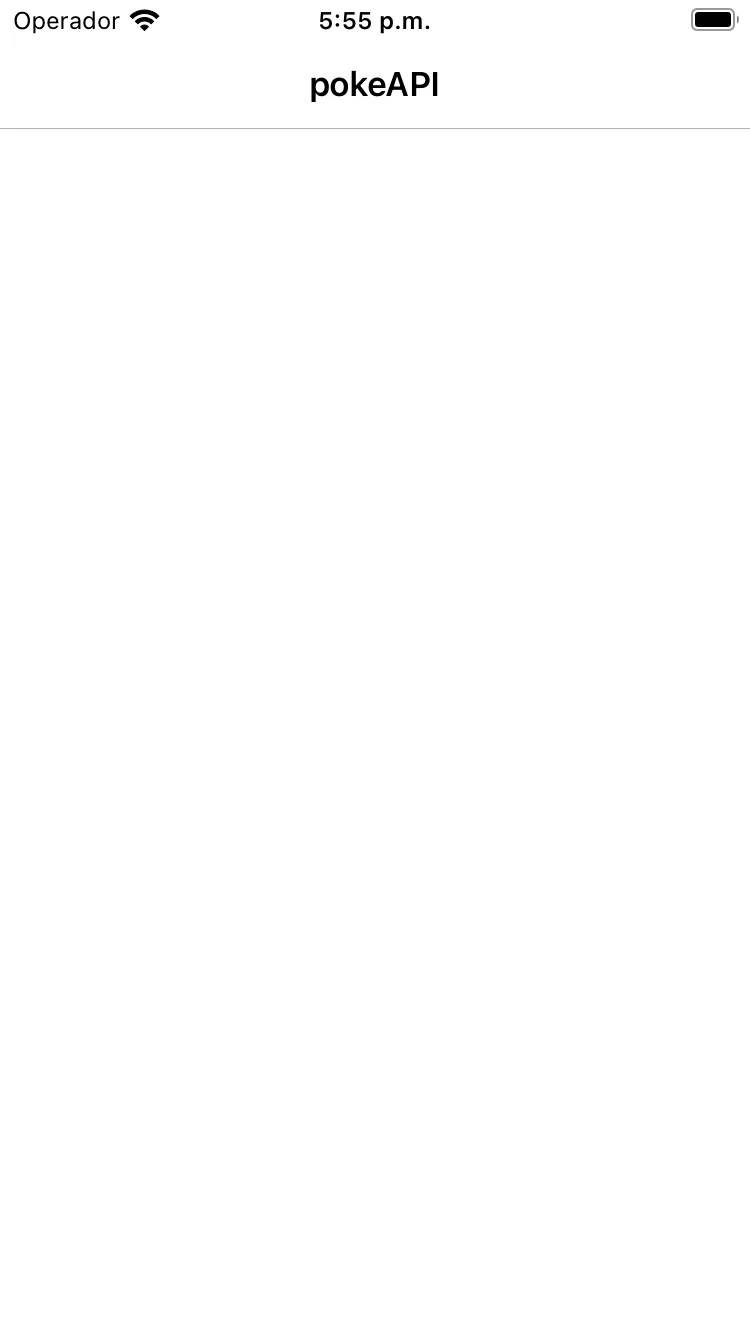
App.svelte will render the default page Home which contains a message and an icon.
You'll notice that these are not the HTML tags you're used to, and that's because these are not HTML elements. These are native elements/views. So if you were thinking of reusing your code in a web app, for example, this is not the part that you'll be able to share.
If that's what you need, make sure you extract the pieces that can be reused.
Building Our Application
Let's delete the content from Home.svelte, and let's talk about what we'll be building.
The app we will build will display a list of items, and when clicked, will navigate into a detailed view. The date for this example will be fetched from the PokeAPI.
Creating a List view
Let´s create our Home page a.k.a the list.
But first, let's create some types to be used in our list.
export type PokemonListApiResponse = {
    count: number,
    next: string | null,
    previous: string | null
    results: Array<{
        name: string,
        url: string
    }>
}

export type PokemonListItem = {
    name: string,
    image: string
}
First, we created a type for the rest API response. It will contain a list of Pokémon with a few properties. We also create a type for the model used in our view.
<script lang="ts">
 import { Template } from "svelte-native/components";
 import { PokemonListItem } from "~/types/pokemon";

 let data: PokemonListItem[] = [];

</script>

<page>
 <actionBar title="pokeAPI" />
 <stackLayout height="100%">
   <listView height="100%" items={data}>
     <Template let:item>
       <gridLayout rows="*" columns="auto, *" margin="5 10" padding="0">
         <image row="0" col="0" src={item.image} class="thumb" />
         <label row="0" col="1" text={item.name} />
       </gridLayout>
     </Template>
   </listView>
 </stackLayout>
</page>
Our page consists of a set of layouts and a list view.
Each list item will display an image and a label.
However, our view is missing data.
Integrating with PokeAPI
Let's create a service that will fetch a list of Pokémon.
// services/api.ts
import { Http } from "@nativescript/core";
import { PokemonListApiResponse, PokemonListItem } from "~/types/pokemon";

export const catchemAll = (limit = 100, offest = 0) =>
  Http.getJSON<PokemonListApiResponse>(
    `https://pokeapi.co/api/v2/pokemon?limit=100&offset=0`
  ).then(
    (res) => {
      return res.results.map((pokemon) => {
        let splitUrl = pokemon.url.split("/");
        let id = splitUrl[splitUrl.length - 2];

        return {
          ...pokemon,
          image: `https://raw.githubusercontent.com/PokeAPI/sprites/master/sprites/pokemon/${id}.png`,
        } as PokemonListItem;
      });
    }
  );
To make a request I'll use the Http API provided by NativeScript. It contains a set of methods that I recommend you to check out before deciding which one will suit better for your use case.
I'm making a little transformation to the received data, to build the URL with the sprite of each item.
Once our service is in place, we'll fetch data and display it.
By default, we will fetch 100 items starting from the first one.
I'll make a request once the item is mounted, which means I'll first render the action bar only, and when the response is received, the list will be rendered.
<script lang="ts">
  import { Template } from "svelte-native/components";
  import { onMount } from "svelte";
  import * as api from "../services/api";
  import { PokemonListItem } from "~/types/pokemon";

  let data: PokemonListItem[] = [];

  onMount(() => {
    api.catchemAll().then((items) => (data = items));
  });

</script>

<page>
  <actionBar title="pokeAPI" />
  <stackLayout height="100%">
    <listView height="100%" items={data} on:itemTap={handleTap}>
      <Template let:item>
        <gridLayout rows="*" columns="auto, *" margin="5 10" padding="0">
          <image row="0" col="0" src={item.image} class="thumb" />
          <label row="0" col="1" text={item.name} />
        </gridLayout>
      </Template>
    </listView>
  </stackLayout>
</page>
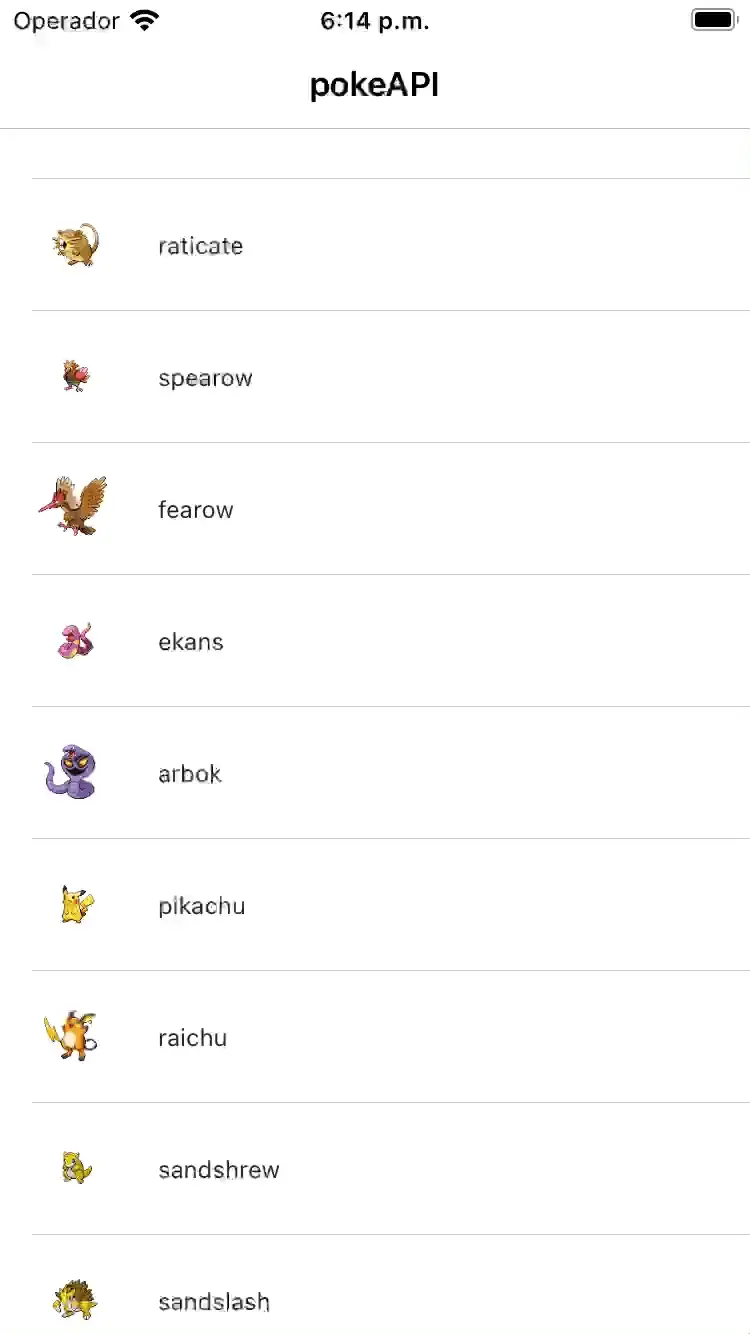
Our app should look this by now

Much better!
Adding the Details view
For our sample application to be complete, we want to be able to navigate to a more detailed page of a Pokémon when one list item is selected.
First, we need to create our destination component: a detailed view of a Pokémon.
We will be adding fetching a description for the Pokémon, but there's a lot of information you can get from the API.
Let's add this call to the API service, and create our detailed view.
// services/api.ts
// ... other methods
export const getDescription = (id: number) => Http.getJSON(`https://pokeapi.co/api/v2/characteristic/${id}`).then(
  (result: any) => {
    let desc = result.descriptions.find(
      (description: any) => description?.language?.name == "en"
    );
    return desc?.description
  },
);
<!-- components/Details.svelte -->
<script lang="ts">
  import { onMount } from "svelte";
  import * as api from "../services/api";

  export let index: number;
  export let item: any;
  let description = "";

  onMount(() => {
    api.getDescription(index + 1).then(
      (res) => {
        description = res || "No description";
      },
      (e) => {
        description = "Error fetching data";
      }
    );
  });
</script>

<page>
  <actionBar title={item.name} class="action-bar" />
  <scrollView>
    <stackLayout>
      <image margin="0" height="250" stretch="aspectFit" src={item.image} />
      <stackLayout padding="10 20">
        <stackLayout>
          <label
            marginTop="15"
            fontSize="16"
            fontWeight="700"
            class="text-primary"
            textWrap="true"
            text="Description"
          />
          <label
            fontSize="14"
            class="text-secondary"
            textWrap="true"
            text={description || "Loading..."}
          />
        </stackLayout>
      </stackLayout>
    </stackLayout>
  </scrollView>
</page>
We will be using a set of stackLayout to build our view, display the image, add the name to the action bar, and finally show a loading message while getting the description, and an error if it fails.
Notice there are two properties exported. This means that these properties must be passed as inputs from a parent.
Bringing all together
It's time to connect the list view, and the details view.
Let's see the final Home Page:
<script lang="ts">
  import { navigate } from "svelte-native";
  import { Template } from "svelte-native/components";
  import { ItemEventData } from "@nativescript/core";
  import { onMount } from "svelte";
  import Details from "./Details.svelte";
  import * as api from "../services/api";
  import { PokemonListItem } from "~/types/pokemon";

  let data: PokemonListItem[] = [];

  onMount(() => {
    api.catchemAll().then((items) => (data = items));
  });

  function handleTap(event: ItemEventData) {
    navigate({
      page: Details,
      props: { index: event.index, item: data[event.index] },
    });
  }
</script>

<page>
  <actionBar title="pokeAPI" />
  <stackLayout height="100%">
    <listView height="100%" items={data} on:itemTap={handleTap}>
      <Template let:item>
        <gridLayout rows="*" columns="auto, *" margin="5 10" padding="0">
          <image row="0" col="0" src={item.image} class="thumb" />
          <label row="0" col="1" text={item.name} />
        </gridLayout>
      </Template>
    </listView>
  </stackLayout>
</page>
We have now included an event listener (on:itemTap), that will then call the navigate method included in svelte-native. Here, we passed the required props item and index to the Details Component.
Now we have connected both views.
We don't have to think about a back button in our details view because it's automatically there when you navigate, and add a view to the navigation stack.
The final result:
Success.
Publishing your app
If you want to publish the application start by running ns prepare ios --release Open the project in XCode and follow the instructions on how to publish an iOS app.
Final words
Being able to work on a native application using a language and a framework you're comfortable with can be a benefit. But there's a cost to it. Setting up the environment is not as straightforward as it could be, but thankfully, the CLI makes it a lot easier to diagnose what's required.
There's a lot more to explore in NativeScript like using plugins, but it's out of scope for this post, where we explore the usage of Svelte with NativeScript. You can check the code from this tutorial in this repo.