In previous posts, I covered different topics about Web Components and Single-Page Applications using LitElement and TypeScript.
It's well known that LitElement has added a good support to manage Properties and Events to write powerful web components. In this post, we'll focus on event handling using a LitElement-based component as a use case using the TypeScript language.
The Custom Component
Let's start the Web Component creation using the Stackblitz editor and define the initial code for our first component:
// my-button.ts

import { LitElement, html, property, customElement, css } from "lit-element";

@customElement("my-button")
class MyButton extends LitElement {
  static styles = css`
    :host {
      display: inline-block;
      padding: 10px;
      background: #5fe1ee;
      border-radius: 5px;
      cursor: pointer;
    }
  `;

  @property() label = "Hello LitElement";

  constructor() {
    super();
  }

  render() {
    return html`
      <span>
        ${this.label}
      </span>
    `;
  }
}
The previous code creates a custom button definition using the following features from LitElement:
- The
@customElementdecorator allows the component definition using a name for it:my-button. It is applied at the class level. - The
static stylesattribute defines the styles for the component using a tagged template literal(css) - The
@propertydecorator, which allows declaring properties in a readable way. - The
rendermethod returns the HTML content through a template literal(html). This function will be called any timelabelproperty changes.
How to Fire Events
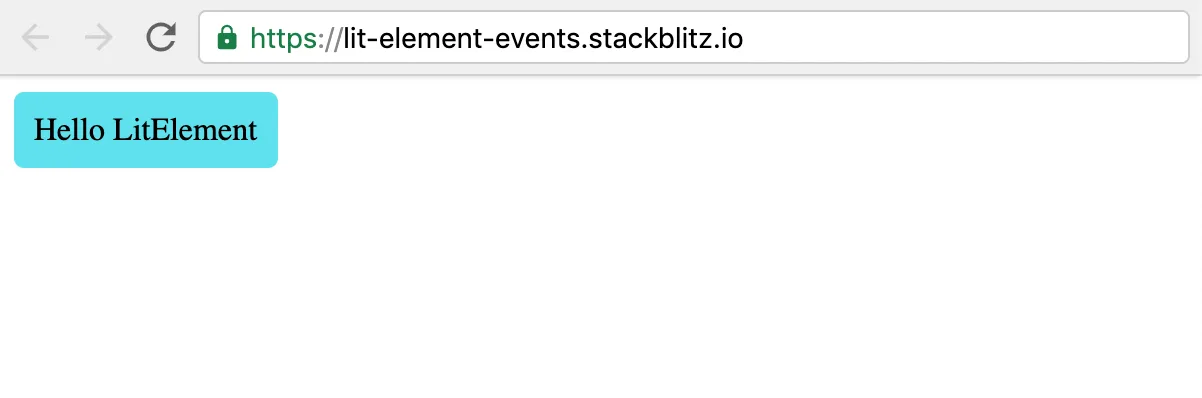
Once the previous code gets rendered in the browser, you'll see a custom button definition as the next screenshot shows:
However, this button definition doesn't have the ability to fire events yet. Let's add that support updating the render function:
// my-button.ts

  render() {
    return html`
      <span @click=${this.handleClick}>
        ${this.label}
      </span>
    `;
  }

  private handleClick(e: MouseEvent) {
    console.log("MyButton, click", e);
  }
The render function does use the lit-html @click binding into the template. This will allow capturing the click event. In other words, we're adding an event listener in a declarative way.
Let's assume the brand new <my-button></my-button> component needs to fire the click event. This can be done using the dispatchEvent function.
// my-button.ts

  private handleClick(e: MouseEvent) {
    this.dispatchEvent(new Event("myClick"));
  }
Handling the Event
In a real-world scenario, we'll need to handle (or listen) the new myClick event once it gets fired.
Let's add a container component int the my-container.ts file and import the my-button.ts definition as follows:
// my-container.ts

import { LitElement, html, customElement, css } from "lit-element";
import "./my-button";

@customElement("my-container")
class MyContainer extends LitElement {
  static styles = css`
    :host {
      display: block;
    }
  `;

  constructor() {
    super();
  }

  render() {
    return html`
      <my-button @myClick=${this.handleClick} label="Hello LitElement">
      </my-button>
    `;
  }

  private handleClick(e: Event) {
    console.log("MyContainer, myClick", e);
  }
}
Let's explain what's happening there:
- The
renderfunction defines a template literal and makes use of themy-buttonelement using<my-button></my-button>as if it were part of the HTML vocabulary- The
@myClickattribute sets a function reference to handle the event in a declarative syntax. - The
labelattribute sets the text displayed in the button. Anytime it changes, the button will be rendered again.
- The
- The
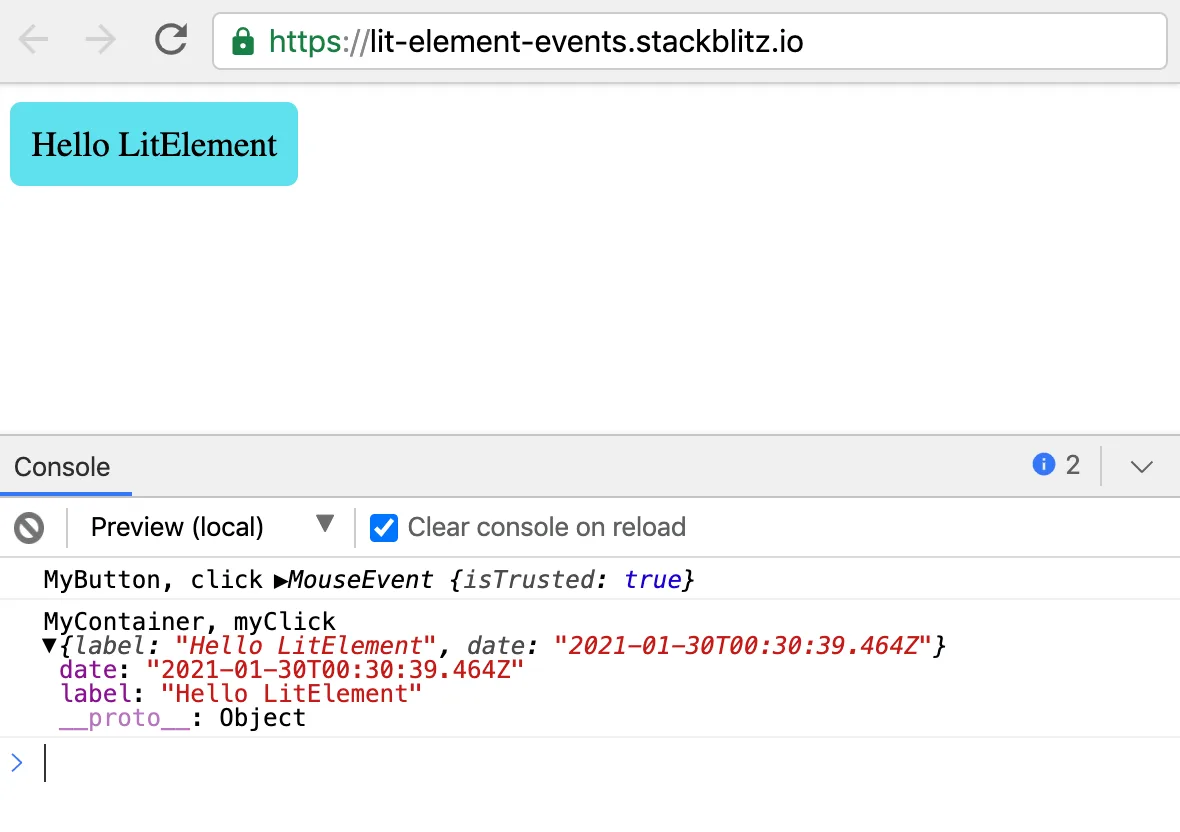
handleClickfunction receives anEventobject with more information about it. Open your browser's console and feel free to inspect this value.
How to Fire Custom Events
There are times when the web component needs to send a value or an object (along with its attributes) when it fires the event. if that's the case, you can create a CustomEvent.
Since we're using TypeScript, it would be great to create a model for the data to be passed through the Custom Event. Let's create it in the my-button.ts file as:
// my-button.ts

export interface MyButtonEvent {
  label: string;
  date: string;
}
Of course, you can create a separate file for this model. Now, let's update the handleClick function as follows:
// my-button.ts

  private handleClick(e: MouseEvent) {
    const event = new CustomEvent<MyButtonEvent>("myClick", {
      detail: {
        label: this.label,
        date: new Date().toISOString()
      }
    });
    this.dispatchEvent(event);
  }
The Custom Event object is created for specifying the data type (MyButtonEvent) that will be fired as part of the detail. Remember the name of this interface: we'll make use of it next.
Handling the Custom Event
In a previous section, we've been handling the myClick event in the my-container.ts file. Let's update it to support our Custom Event.
// my-container.ts

  private handleClick(e: CustomEvent<MyButtonEvent>) {
    const detail: MyButtonEvent = e.detail;

    console.log("MyContainer, myClick", detail);
  }
Pay attention to the event parameter and the type we're using to capture the event details: CustomEvent<MyButtonEvent>. This is helpful to capture the emitted object with the right type. Thanks, TypeScript! :-)
Live Demo
Wanna play around with this code? Just open the Stackblitz editor:
Conclusion
LitElement is an excellent alternative to build lightweight web applications since it's based on the Web Components standard, and with the help of TypScript, we can see more posibilities to build Web Components faster with a good developer experience.
Feel free to reach out on Twitter if you have any questions. Follow me on GitHub to see more about my work.