Introduction
React, developed by Meta, is a JavaScript library for building user interfaces, and it is one of the most used UI JavaScript libraries in the world. React will be turning a decade old by May 2023. It has gained a lot of popularity over the years, and its latest version, React 18, was released in March 2022.
Qwik is a new JavaScript framework by Misko Hevery, creator of Angular, for building frontend browser applications. The major benefit of Qwik is its performance optimization, which features resumability and lazy loading.
As it stands now, there are virtually no Qwik third-party packages or libraries that currently exist, but luckily the Qwik team factored this in, making it easy for developers to easily integrate React libraries or your old React components into your Qwik project without too much difficulty.
In this article, I will show you how to easily integrate React libraries or components into your Qwik project.
Project Set Up
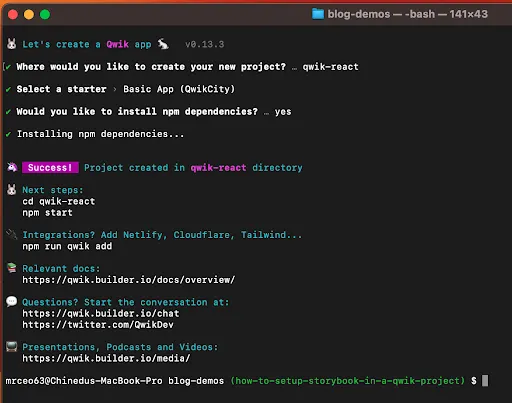
To get started, we need to create a new Qwik app. We can do this by running the following command in our terminal:
npm create qwik@latest
You can also get additional tools and configurations using our starter.dev kit by running the command in your terminal:
npm create @this-dot/starter --kit qwik-graphql-tailwind
You will be prompted to enter the name of your project (let’s call it qwik-react), choose the default option when asked to select a starter, and then install npm dependencies.
Now we have our Qwik application ready to go. Let’s start the development server and see what it looks like;
npm run dev
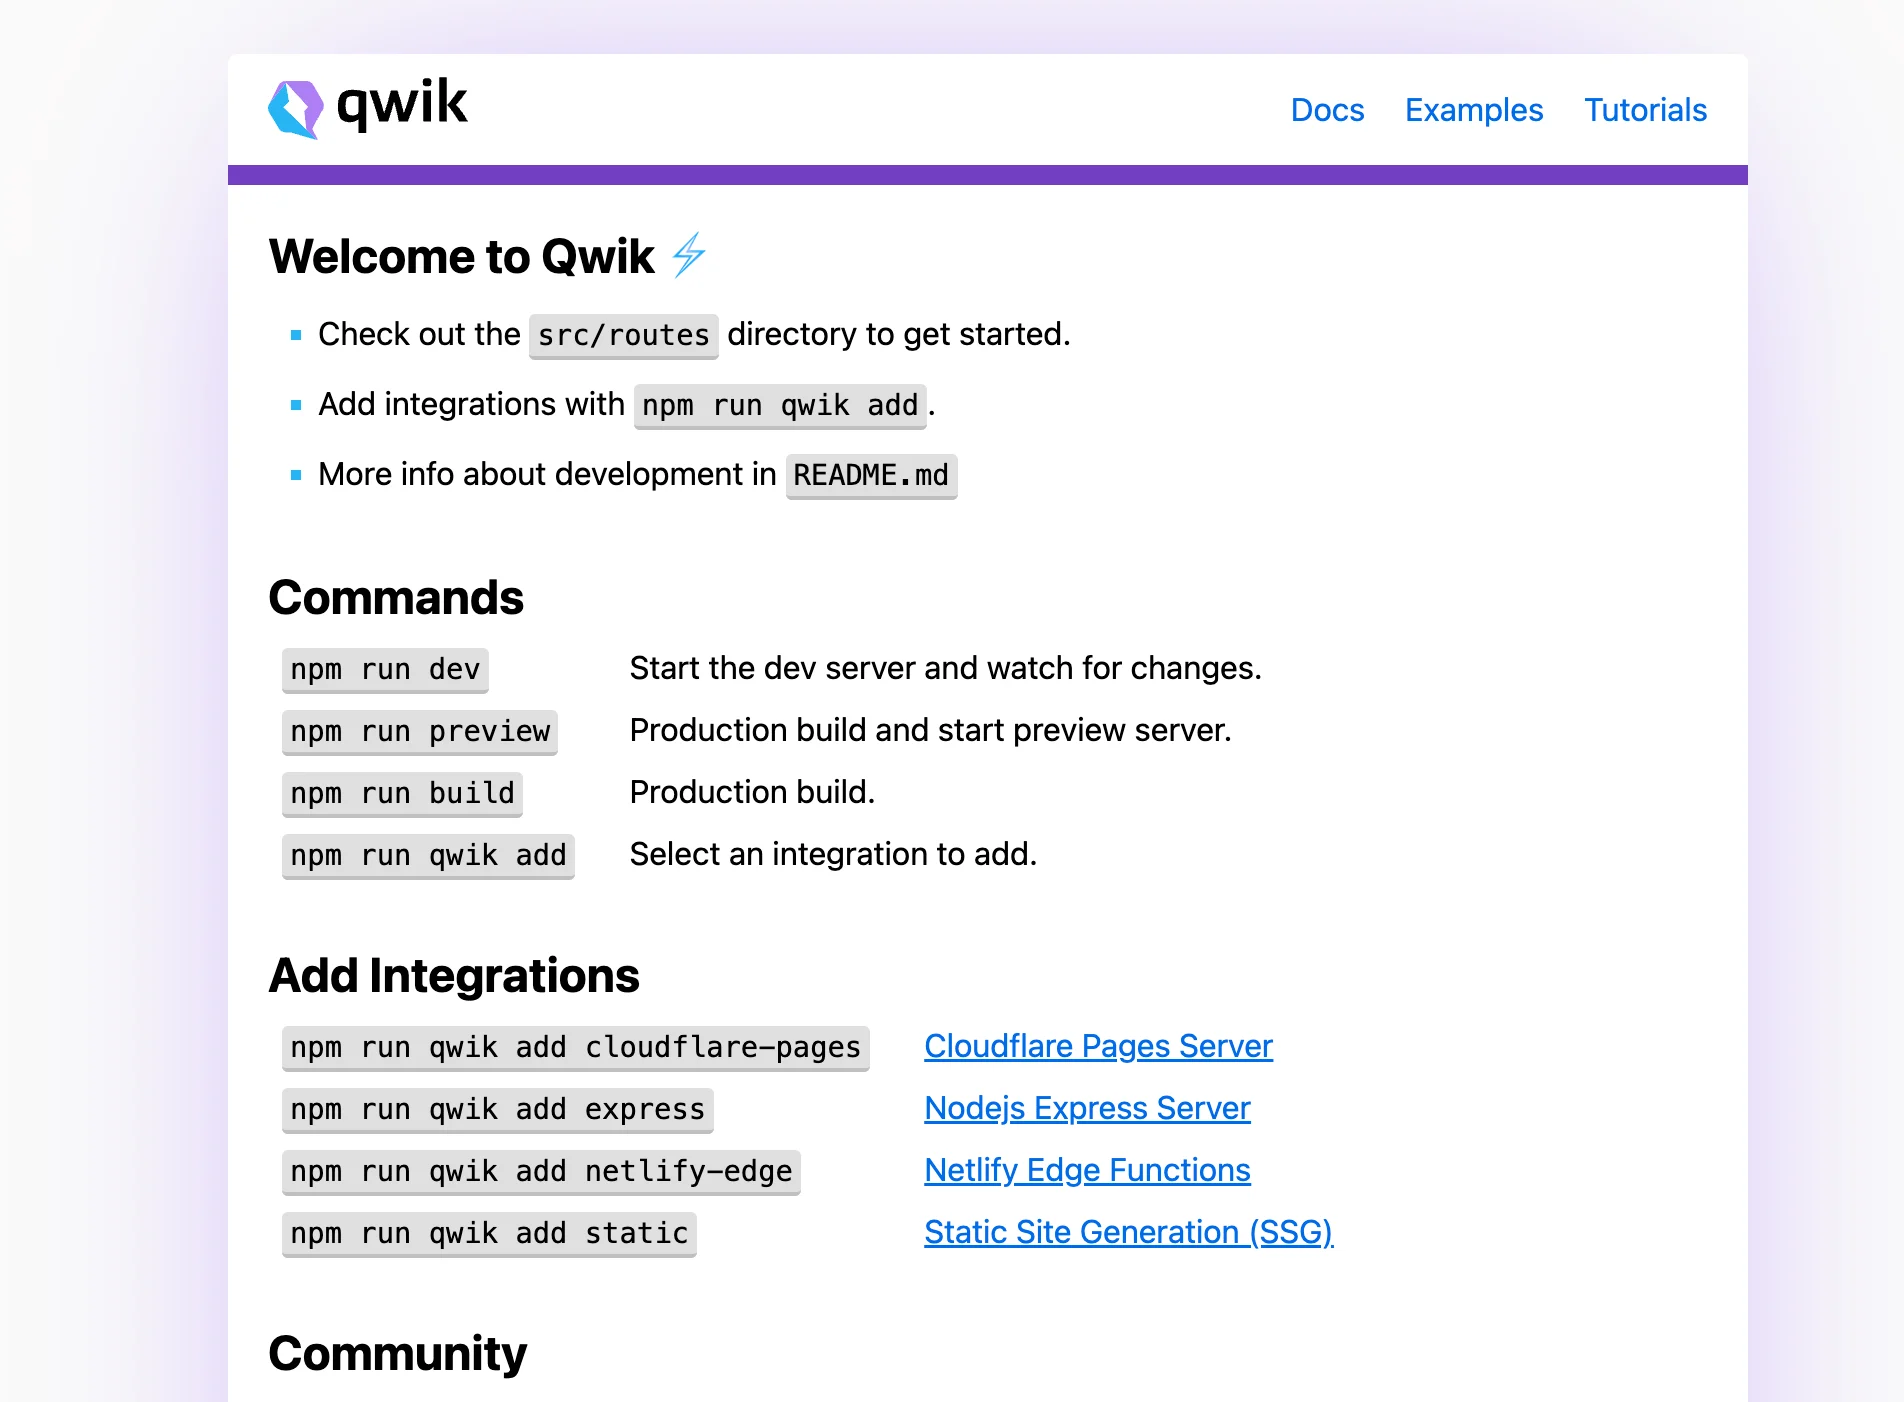
Now that our app is up and running we will see how we can integrate a React package and component into our Qwik project.
Integrating React in Qwik
Like most JavaScript frontend libraries or frameworks, React makes use of hydration, which has its drawbacks and might be more expensive than you think. Qwik needs no hydration on load. It’s just pure HTML. This makes Qwik qwiker to load UIs, with which users can start interacting. You should keep this in mind when considering to include React components in your Qwik applications.
QwikReact is a tool that allows you to use React components in Qwik, including the whole ecosystem of component libraries such as Material UI, Threejs and React Spring. To get started, we need to run this command inside our Qwik app:
npm run qwik add react
This will install needed dependencies such as qwik-react, react, and react-dom. It will also add emotion and mui, which you can uninstall if you don’t intend to use them.
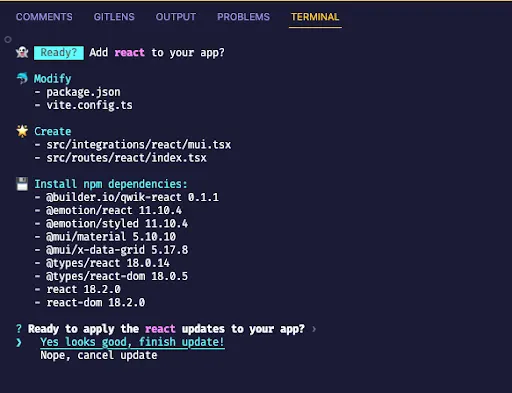
If we check our project, we should now have some new folders generated. The most important is the src/integrations/react. This is where all our React components will be implemented or React packages will be used.
Qwikify$
The qwikify$ function is exported from @builder.io/qwik-react, which converts React components into Qwik components that you can use across your application, and allows Qwik to implement partial hydration of React components. You cannot use React components in Qwik without converting them first to remove React’s hydration pattern, which is not supported in Qwik, using qwikify$().
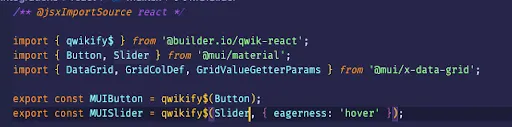
Another important thing to remember is to make sure the file containing your React component has this;
/** @jsxImportSource react */
This needs to be imported at the top of the file as this serves as instructions to the compiler to use React as the JSX factory. This means you cannot mix your React components with a Qwik component.

The code above is from the Qwik demo. You can see how the React components are wrapped with the qwikify$() function.
If your React package requires some configuration, don’t try to pass it as a props. Instead, do every configuration right inside the file, ensuring only the dynamic data is passed through.
The code above is from our Qwik GitHub showcase. Check out the full source code here.
So once you are done with Qwikifying your React component, you can now import and use it just as you would normally do a Qwik component.


Let’s run our application, and navigate to the React page at http://localhost:5173/react to view the default Qwik demo;
npm run dev

Interactivity
Qwik tries to reduce or completely remove hydrations, but React heavily depends on it. This means we have to find a way to hydrate our React Component without affecting the concept of Qwik. Qwik allows you to decide when to hydrate your components by using the client: JSX properties. This technique is commonly referred to as “partial hydration”. For more information on this checkout Adding Interactivity on Qwik Docs.
Conclusion
In this article, we saw how to convert React to a Qwik component. We also learned about the dos and don’ts of using React in Qwik, as well as how to handle hydration. I hope you enjoyed this article. Thank you for reading!
If you have any questions or run into any trouble, feel free to join the discussions going on at starter.dev or on our Discord.