Skip to content

This.JavaScript: State of Frameworks- Polymer/Web Components Update

Hosted by This.JavaScript, an online event where developers learn about the latest news in JavaScript, State of Frameworks and Libraries covered all the breaking news in the world of frameworks.

On Feb. 19, State of Frameworks speakers, including many of the best and brightest from the development world, gave us updates on all things frameworks.

Here’s some of what Justin Fagnani, who works at Google on Web Components and Polymer, had to say about what’s coming up for Polymer and Web Components.

Justin Fagnani — Polymer.js at Google — @justinfagnani

Releases

Since the last update, there have been a lot of releases in the Polymer project and elsewhere in the community.

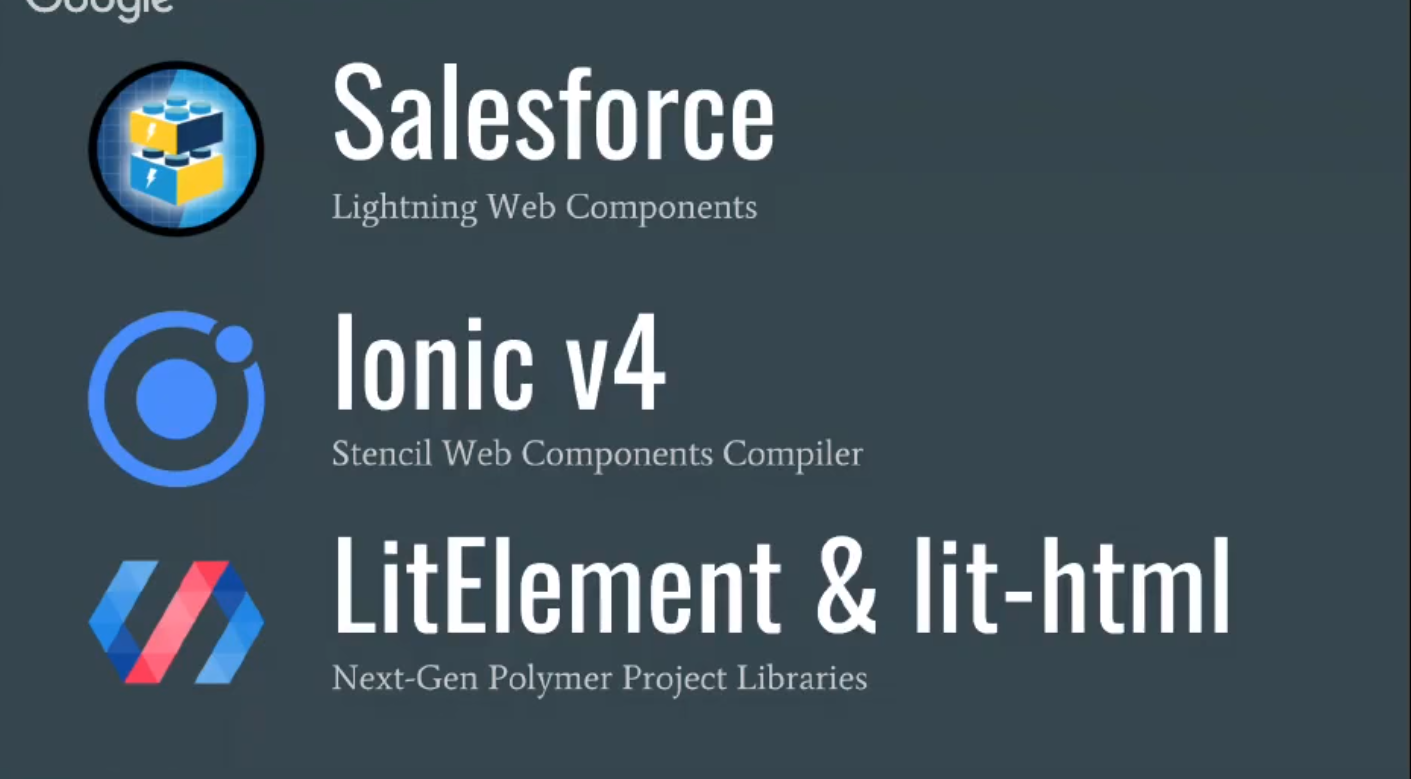
Salesforce recently released their Lightning Web Components, for example. Salesforce moved their entire client-side SDK away from a custom framework type of solution to pure Web Components.

Web Components has already seen a great deal of adoption and enterprise, and Salesforce is a big move towards even more. Salesforce brings with it around 4 million developers on their platform, so this is a big deal for Web Components’ future.

Similarly, Ionic just released Ionic v4, which is a rewrite of all their libraries and components to be more framework-agnostic. Ionic is using their own stencil Web Components compiler to create all the Ionic components in there.

Also recently released are the first stable versions of LitElement and lit-html, which are the next generation libraries from the Polymer group.

LitElement and lit-html

lit-html

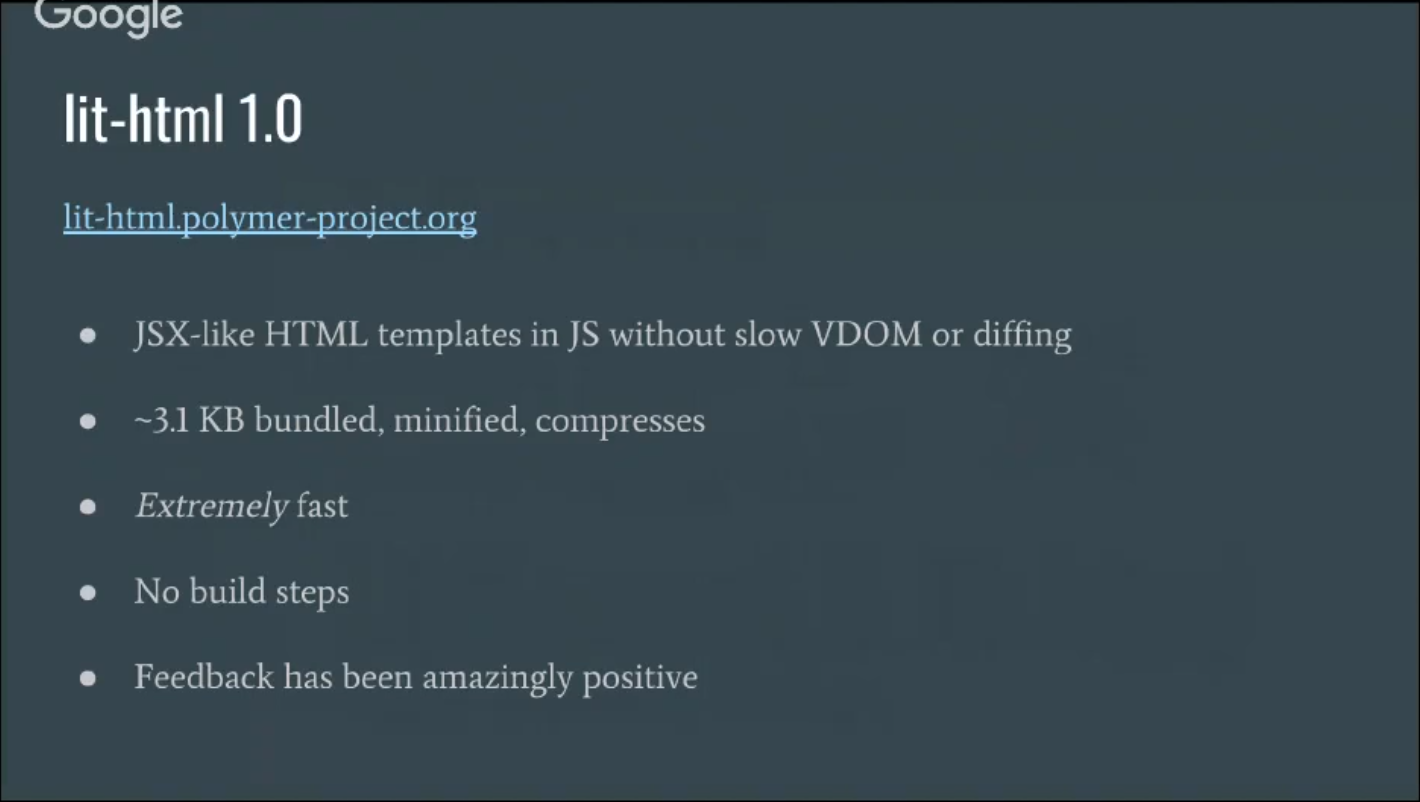
For those who are unfamiliar, lit-html is a new html templating engine. It write templates in JS using template literals. It also renders and updates them very efficiently, only updating the parts that change. Lit-html also doesn’t use a v-DOM or do any diffing, which both typically require overhead for the extra memory allocation.

Lit-html has several major benefits. It’s very small — only about 3.1K if modules are bundled, minified, and compressed. It’s also very fast, clocking in at around the time that Inferno runs, or sometimes even faster.

Lit-html is written nearly as pure ES2017. It’s distributed in modules, so it can be used in modern browsers with no extra steps at all. The feedback so far has been very positive, even from people working in other frameworks like Angular and React.

You can see in the syntax its dynamic and static portions. Not using a vDOM or walking the tree — instead “remembering” where the dynamic portion was and updating it as needed — saves a lot of work and adds to the ergonomy of the engine.

Lit-html recently gained some new syntax to control how bindings are implemented. You can bind to text, an attribute, or properties. You can also bind to any event using an event listener, such as bubbling or capturing an event.

The Stacklits team has been working on a template for lit-html. This template takes advantage of the fact that there’s little build required. Full page reloads are available on every keystroke; because there’s no build, it’s basically instant. This means that hot module loading is essentially available without its usual pitfalls.

LitElement 2.0

LitElement, also recently released, is a lightweight base class for Web Components, only about 2 KB on top of lit-html. LitElement uses lit-html for rendering.

It also has reactive, declarative properties and feeds them through an asynchronous rendering pipeline.

LitElement uses shadowDOM for styling and looks a lot like React but without JSX, usually using standard syntax.

Pre-release Adoption

Web Components have had several encouraging adoption announcements recently. In particular, the community is noticing early adoption from enterprises with existing design systems. Enterprises like SAP, ING, British Gas, Williams Sonoma, and others have already started using Web Components.

Chrome 73

Chrome 73 is going to ship with two great features for Web Components.

The first is Constructible StyleSheets, a feature that allows you to create a stylesheet once and parse it only once. You simply have to give it some CSS text. After that, for every component that wants to use a StyleSheet, you can add it to the shadowDOM for that component. This is just a JS reference to a single shared StyleSheet.

This feature gives a nice boost in performance of up to 30% in some benchmarks, making Web Components faster. If you mutate the stylesheet, changes can affect all of those components at once, even though they’re in encapsulated shadowRoots.

LitElements automatically uses this feature when available. Pages that use LitElement will be faster on Chrome 73.

The CSS tag will detect whether you have Constructible StyleSheets, and if you do, it will create a stylesheet out of that CSS text. If not, it will inject a plain style tag into the ShadowRoot.

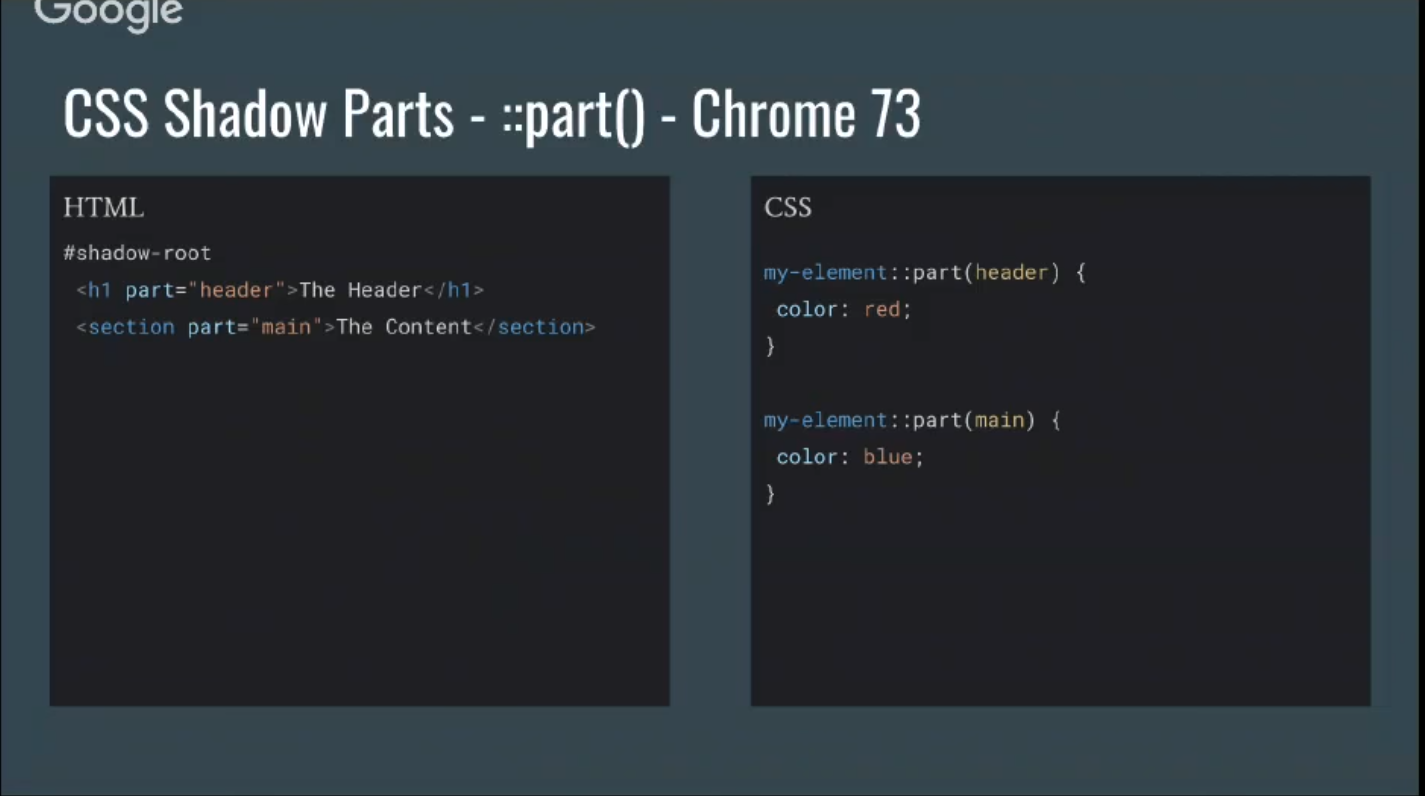
Another new feature of Chrome 73 that will have great implications for Web Components is CSS ShadowParts, or ::part().

ShadowDOM gives you style encapsulation. Sometimes you want to be able to explicitly expose something out of that ShadowRoot for styling purposes.

You add this new ::part() attribute to elements inside a ShadowRoot. Outside of the ShadowRoot, just like in Pseudo-Elements, you’re able to select a part and make styling changes. This is a really important feature for theming in an encapsulated style world.

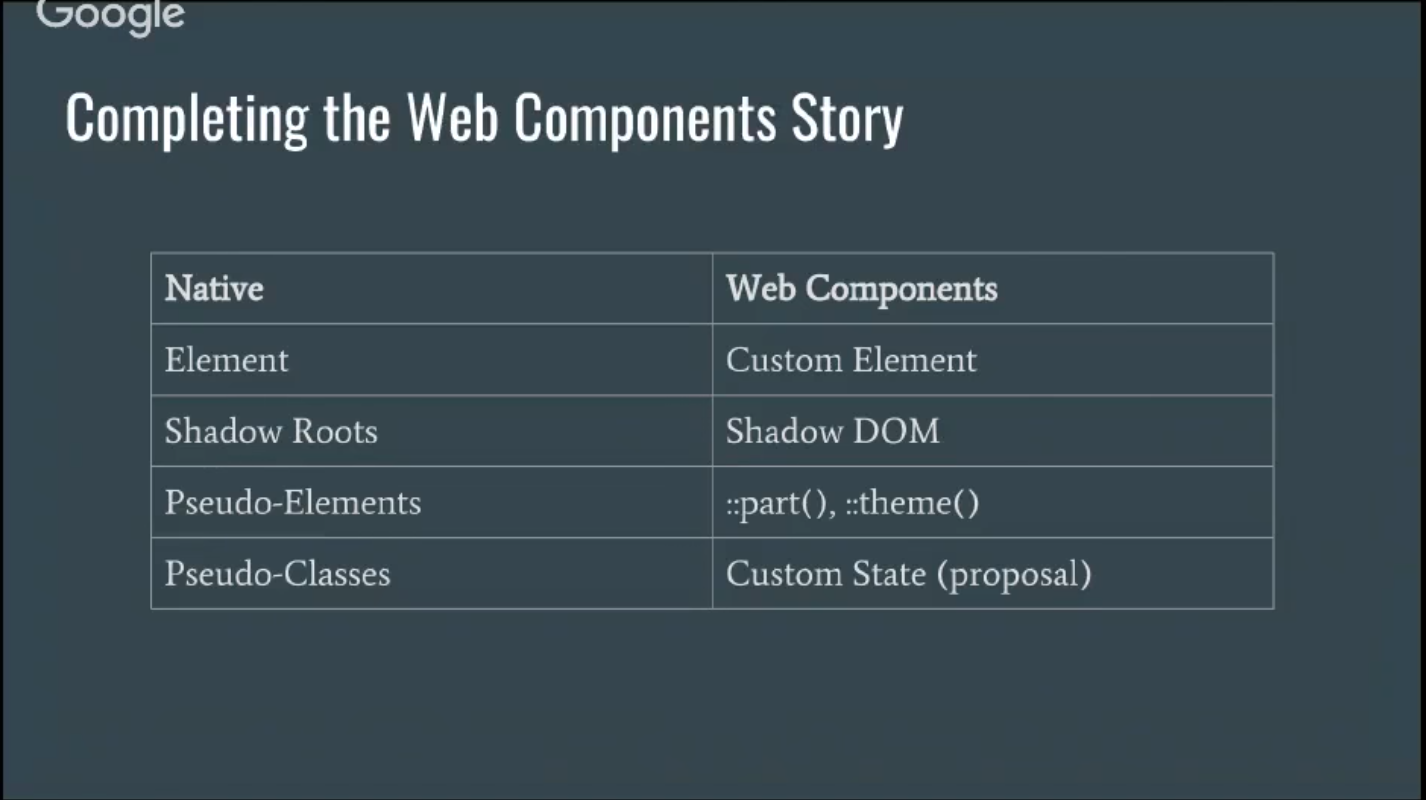
These features will help Web Components march down this progression of enabling developers to do what only the platform could do. The story of Web Component is about gradually exposing Native features to developers. In the future, custom Pseudo-Classes will complete that story with Custom State.

Usage Stats

Looking at the stats, it’s clear that Web Components have become more popular. Almost 10 percent of page views in Chrome use Web Components. This is one of the most successful platform features launched in recent years, even more successful than Web Workers, Web Audio, and Service Workers. Nearly every web user uses Web Components every day that they browse the web.

What’s Next?

Lit-html doesn’t support SSR yet, so that’s in the works for the future. Lit-html will also eventually have streaming SSR, so that every static and dynamic chunk of lit-html can be streamed independently as it is resolved.

Developers are also working on incremental rehydration for lit-html. Build-time optimizations will decrease bootup time even further.

For Lit-Element, developers are adding ::part() support with a fall-back. Other goals include reducing bootup costs and adding SSR. There are also a number of Async Helpers in the queue for Lit-Element.

For the Native platform, template instantiation is moving forward. ::theme(), similar to ::part(), will also be implemented soon for more styling control. HTML Modules and CSS Modules are also likely in the works for the future.

On deck is also work with polyfills, making them easier to use and transparently implement the specs more accurately. This is one of the major roadblocks to Web Components adoption, so that will be a high priority going forward.

This Dot Labs is a development consultancy that is trusted by top industry companies, including Stripe, Xero, Wikimedia, Docusign, and Twilio. This Dot takes a hands-on approach by providing tailored development strategies to help you approach your most pressing challenges with clarity and confidence. Whether it's bridging the gap between business and technology or modernizing legacy systems, you’ll find a breadth of experience and knowledge you need. Check out how This Dot Labs can empower your tech journey.

You might also like

How to automatically deploy your full-stack JavaScript app with AWS CodePipeline cover image

How to automatically deploy your full-stack JavaScript app with AWS CodePipeline

How to automatically deploy your full-stack JavaScript app from an NX monorepo with AWS CodePipeline In our previous blog post (How to host a full-stack JavaScript app with AWS CloudFront and Elastic Beanstalk) we set up a horizontally scalable deployment for our full-stack javascript app. In this article, we would like to show you how to set up AWS CodePipeline to automatically deploy changes to the application. APP Structure Our application is a simple front-end with an API back-end set up in an NX monorepo. The production built API code is hosted in Elastic Beanstalk, while the front-end is stored in S3 and hosted through CloudFront. Whenever we are ready to make a new release, we want to be able to deploy the new API and front-end versions to the existing distribution. In this article, we will set up a CodePipeline to deploy changes to the main branch of our connected repository. CodePipeline CodeBuild and the buildspec file First and foremost, we should set up the build job that will run the deploy logic. For this, we are going to need to use CodeBuild. Let's go into our repository and set up a build-and-deploy.buildspec.yml` file. We put this file under the `tools/aws/` folder. `yaml version: 0.2 phases: install: runtime-versions: nodejs: 18 on-failure: ABORT commands: - npm ci build: on-failure: ABORT commands: # Build the front-end and the back-end - npm run build:$ENVIRONMENTTARGET # TODO: Push FE to S3 # TODO: Push API to Elastic beanstalk ` This buildspec file does not do much so far, we are going to extend it. In the installation phase, it will run npm ci` to install the dependencies and in the build phase, we are going to run the build command using the `ENVIRONMENT_TARGET` variable. This is useful, because if you have more environments, like `development` and `staging` you can have different configurations and builds for those and still use the same buildspec file. Let's go to the Codebuild page in our AWS console and create a build project. Add a descriptive name, such as your-appp-build-and-deploy`. Please provide a meaningful description for your future self. For this example, we are going to restrict the number of concurrent builds to 1. The next step is to set up the source for this job, so we can keep the buildspec file in the repository and make sure this job uses the steps declared in the yaml file. We use an access token that allows us to connect to GitHub. Here you can read more on setting up a GitHub connection with an access token. You can also connect with Oauth, or use an entirely different Git provider. We set our provider to GitHub and provided the repository URL. We also set the Git clone depth to 1, because that makes checking out the repo faster. In the Environment` section, we recommend using an AWS CodeBuild managed image. We use the Ubuntu Standard runtime with the `aws/codebuild/standard:7.0` version. This version uses Node 18. We want to always use the latest image version for this runtime and as the `Environment type` we are good with `Linux EC2`. We don't need elevated privileges, because we won't build docker images, but we do want to create a new service role. In the Buildspec` section select `Use a buildspec file` and give the path from your repository root as the `Buildspec name`. For our example, it is `tools/aws/build-and-deploy.buildspec.yml`. We leave the `Batch configuration` and the `Artifacts` sections as they are and in the `Logs` section we select how we want the logs to work. For this example, to reduce cost, we are going to use S3 logs and save the build logs in the `aws-codebuild-build-logs` bucket that we created for this purpose. We are finished, so let's create the build project. CodePipeline setup To set up automated deployment, we need to create a CodePipeline. Click on Create pipeline` and give it a name. We also want a new service role to be created for this pipeline. Next, we should set up the source stage. As the source provider, we need to use GitHub (version2)` and set up a connection. You can read about how to do it here. After the connection is set up, select your repository and the branch you want to deploy from. We also want to start the pipeline if the source code changes. For the sake of simplicity, we want to have the Output artefact format as CodePipeline default. At the Build stage, we select AWS CodeBuild` as the build provider and let's select the build that we created above. Remember that we have the `ENVIRONMENT_TARGET` as a variable used in our build, so let's add it to this stage with the `Plaintext` value `prod`. This way the build will run the `build:prod` command from our `package.json`. As the `Build type` we want `Single build`. We can skip the deployment stage because we are going to set up deployment in our build job. Review our build pipeline and create it. After it is created, it will run for the first time. At this time it will not deploy anything but it should run successfully. Deployment prerequisites To be able to deploy to S3 and Elastic Beanstalk, we need our CodeBuild job to be able to interact with those services. When we created the build, we created a service role for it. In this example, the service role is codebuild-aws-test-build-and-deploy-service-role`. Let's go to the IAM page in the console and open the `Roles` page. Search for our codebuild role and let's add permissions to it. Click the `Add permissions` button and select `Attach policies`. We need two AWS-managed policies to be added to this service role. The `AdministratorAccess-AWSElasticBeanstalk` will allow us to deploy the API and the `AmazonS3FullAccess` will allow us to deploy the front-end. The `CloudFrontFullAccess` will allow us to invalidate the caches so CloudFront will send the new front-end files after the deployment is ready. Deployment Upload the front-end to S3 Uploading the front-end should be pretty straightforward. We use an AWS CodeBuild managed image in our pipeline, therefore, we have access to the aws` command. Let's update our buildspec file with the following changes: `yaml phases: ... build: on-failure: ABORT commands: # Build the front-end and the back-end - npm run build:$ENVIRONMENTTARGET # Delete the current front-end and deploy the new version front-end - aws s3 sync dist/apps/frontend/ s3://$FRONTEND_BUCKET --delete # Invalidate cloudfront caches to immediately serve the new front-end files - aws cloudfront create-invalidation --distribution-id $CLOUDFRONTDISTRIBUTION_ID --paths "/index.html" # TODO: Push API to Elastic beanstalk ` First, we upload the fresh front-end build to the S3 bucket, and then we invalidate the caches for the index.html` file, so CloudFront will immediately serve the changes. If you have more static files in your app, you might need to invalidate caches for those as well. Before we push the above changes up, we need to update the environment variables in our CodePipeline. To do this open the pipeline and click on the Edit` button. This will then enable us to edit the `Build` stage. Edit the build step by clicking on the edit button. On this screen, we add the new environment variables. For this example, it is aws-hosting-prod` as `Plaintext` for the `FRONT_END_BUCKET` and `E3FV1Q1P98H4EZ` as `Plaintext` for the `CLOUDFRONT_DISTRIBUTION_ID` Now if we add changes to our index.html file, for example, change the button to HELLO 2`, commit it and push it. It gets deployed. Deploying the API to Elastic Beanstalk We are going to need some environment variables passed down to the build pipeline to be able to deploy to different environments, like staging or prod. We gathered these below: - COMMIT_ID`: `#{SourceVariables.CommitId}` - This will have the commit id from the checkout step. We include this, so we can always check what commit is deployed. - ELASTIC_BEANSTALK_APPLICATION_NAME`: `Test AWS App` - This is the Elastic Beanstalk app which has your environment associated. - ELASTIC_BEANSTALK_ENVIRONMENT_NAME`: `TestAWSApp-prod` - This is the Elastic Beanstalk environment you want to deploy to - API_VERSION_BUCKET`: `elasticbeanstalk-us-east-1-474671518642` - This is the S3 bucket that was created by Elastic Beanstalk With the above variables, we can make some new variables during the build time, so we can make sure that every API version is unique and gets deployed. We set this up in the install phase. `yaml ... phases: install: runtime-versions: nodejs: 18 on-failure: ABORT commands: - APPVERSION=`jq '.version' -j package.json` - APIVERSION=$APP_VERSION-build$CODEBUILD_BUILD_NUMBER - APIZIP_KEY=$COMMIT_ID-api.zip - 'APPVERSION_DESCRIPTION="$AP_VERSION: $COMMIT_ID"' - npm ci ... ` The APP_VERSION` variable is the version property from the `package.json` file. In a release process, the application's version is stored here. The `API_VERSION` variable will contain the `APP_VERSION` and as a suffix, we include the build number. We want to upload this API version by indicating the commit ID, so the `API_ZIP_KEY` will have this information. The `APP_VERSION_DESCRIPTION` will be the description of the deployed version in Elastic Beanstalk. Finally, we are going to update the buildspec file with the actual Elastic Beanstalk deployment steps. `yaml phases: ... build: on-failure: ABORT commands: # ... # ZIP the API - zip -r -j dist/apps/api.zip dist/apps/api # Upload the API bundle to S3 - aws s3 cp dist/apps/api.zip s3://$APIVERSION_BUCKET/$ENVIRONMENT_TARGET/$API_ZIP_KEY # Create new API version in Elastic Beanstalk - aws elasticbeanstalk create-application-version --application-name "$ELASTICBEANSTALK_APPLICATION_NAME" --version-label "$API_VERSION" --description "$APP_VERSION_DESCRIPTION" --source-bundle "S3Bucket=$API_VERSION_BUCKET,S3Key=$ENVIRONMENT_TARGET/$API_ZIP_KEY" # Deploy new API version - aws elasticbeanstalk update-environment --application-name "$ELASTICBEANSTALK_APPLICATION_NAME" --version-label "$API_VERSION" --environment-name "$ELASTIC_BEANSTALK_ENVIRONMENT_NAME" # Wait until the Elastic Beanstalk environment is stable - aws elasticbeanstalk wait environment-updated --application-name "$ELASTICBEANSTALK_APPLICATION_NAME" --environment-name "$ELASTIC_BEANSTALK_ENVIRONMENT_NAME" ` Let's make a change in the API, for example, the message sent back by the /api/hello` endpoint and push up the changes. --- Now every time a change is merged to the main` branch, it gets pushed to our production deployment. Using these guides, you can set up multiple environments, and you can configure separate CodePipeline instances to deploy from different branches. I hope this guide proved to be helpful to you....

Bun v1.0 cover image

Bun v1.0

On September 8, 2023, Bun version 1 was released as the first production-ready version of Bun, a fast, all-in-one toolkit for running, building, testing, and debugging JavaScript and TypeScript. Why a new JS runtime You may ask, we already have Node and Deno, so why would we need another javascript runtime, Well yes we had Node for a very long time, but developers face a lot of problems with it, and maybe the first problem is because it’s there for a very long time, it has been changing a lot between different versions and one of the biggest nightmares for JavaScript developers these days is upgrading the node version. Also, Node lacks support for Typescriptt. Zig programming language One of the main reasons that Bun is faster than Node, is the programming language it has been built with which is Zig. Zig is a very fast programming language, even faster than C) (here is some benchmarks), it focuses on performance and memory control. The reasons it’s faster than C is because of the LLVM optimizations it has, and also the way it handles the undefined behavior under the hood Developer Experience Bun delivers a better developer experience than Node on many levels. First, it’s almost fully compatible with Node so you can use Node packages without any issues. Also, you don’t need to worry about JS Common and ES Modules anymore, you can use both in the same file, yup you read that right, for example: `js import { useState } from 'react'; const React = require('react'); ` Also, it has a built-in test framework similar to Jest or Vitest in the project so no need to install a different test framework with different bundler in the same project like Webpack or Vite `js import { describe, expect, test, beforeAll } from "bun:test"; ` Also, it supports JSX out-of-the-box `bash bun index.tsx ` Also, Bun has the fastest javascript package manager and the most efficient you can find as of the time of this post `bash bun install ` Bun Native APIs Bun supports the Node APIs but also they have fun and easy APIs to work with like `Bun.serve()` : to create HTTP server `Bun.file()` : to read and write the file system `Bun. password.hash()`: to hash passwords `Bun.build()`: to bundle files for the browser `Bun.FileSystemRouter()`: a file system router And many more features Plugin system Bun also has an amazing plugin system that allows developers to create their own plugins and add them to the Bun ecosystem. `js import { plugin, type BunPlugin } from "bun"; const myPlugin: BunPlugin = { name: "Custom loader", setup(build) { // implementation }, }; ` Conclusion Bun is a very promising project, and it’s still in the early stages, but it has a lot of potential to be the next big thing in the JavaScript world. It’s fast, easy to use, and has a lot of amazing features. I’m very excited to see what the future holds for Bun and I’m sure it will be a very successful project....

Being a CTO at Any Level: A Discussion with Kathy Keating, Co-Founder of CTO Levels cover image

Being a CTO at Any Level: A Discussion with Kathy Keating, Co-Founder of CTO Levels

In this episode of the engineering leadership series, Kathy Keating, co-founder of CTO Levels and CTO Advisor, shares her insights on the role of a CTO and the challenges they face. She begins by discussing her own journey as a technologist and her experience in technology leadership roles, including founding companies and having a recent exit. According to Kathy, the primary responsibility of a CTO is to deliver the technology that aligns with the company's business needs. However, she highlights a concerning statistic that 50% of CTOs have a tenure of less than two years, often due to a lack of understanding and mismatched expectations. She emphasizes the importance of building trust quickly in order to succeed in this role. One of the main challenges CTOs face is transitioning from being a technologist to a leader. Kathy stresses the significance of developing effective communication habits to bridge this gap. She suggests that CTOs create a playbook of best practices to enhance their communication skills and join communities of other CTOs to learn from their experiences. Matching the right CTO to the stage of a company is another crucial aspect discussed in the episode. Kathy explains that different stages of a company require different types of CTOs, and it is essential to find the right fit. To navigate these challenges, Kathy advises CTOs to build a support system of advisors and coaches who can provide guidance and help them overcome obstacles. Additionally, she encourages CTOs to be aware of their own preferences and strengths, as self-awareness can greatly contribute to their success. In conclusion, this podcast episode sheds light on the technical aspects of being a CTO and the challenges they face. Kathy Keating's insights provide valuable guidance for CTOs to build trust, develop effective communication habits, match their skills to the company's stage, and create a support system for their professional growth. By understanding these key technical aspects, CTOs can enhance their leadership skills and contribute to the success of their organizations....