
This article was written over 18 months ago and may contain information that is out of date. Some content may still be relevant, but please refer to official documentation for the latest information.
In this tutorial, I'm going to show you how to deploy your web app to Firebase in 2 minutes! (that's the goal 😏)
Setting Up Firebase
- Go to https://firebase.google.com/, and sign in with your Google account.
- Go to Console
- Click on Add project
- Enter the name of your project
- Disable Google Analytics
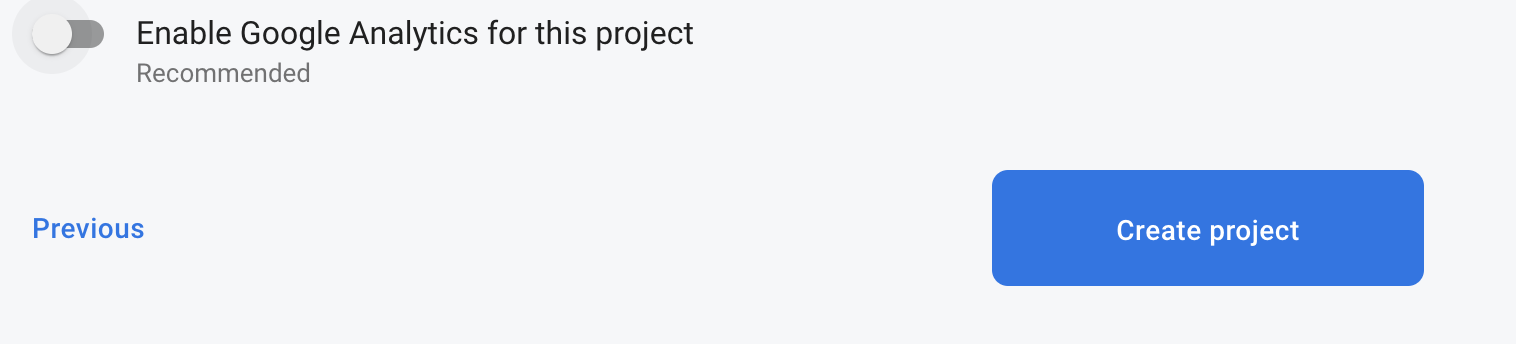
- Click on Create project
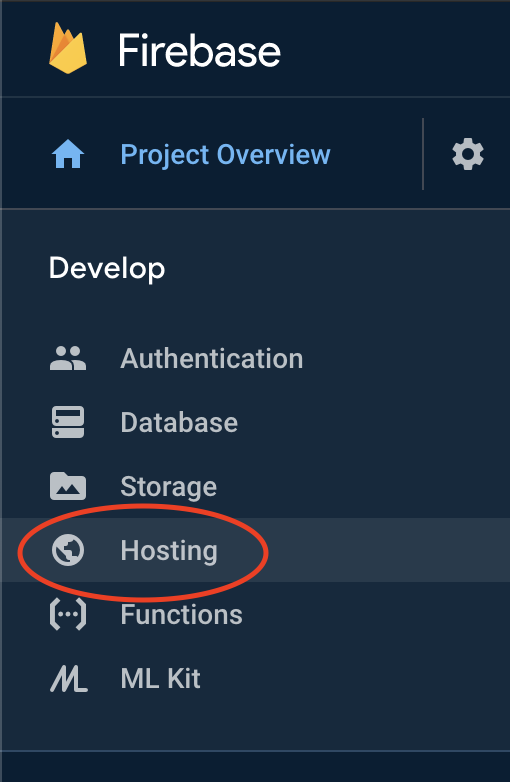
- Click on Hosting on the left sidebar
- Now, on the main banner click on Get started

- Install the Firebase CLI tool in your machine by running:
npm install -g firebase-tools
Building Your Project
- Before you can deploy your project, you have to build it. If you are using React or Angular, you can easily do this by running the following command:
npm run build --prod
Note: Depending on the tech stack you are using (React, Vue, Angular, etc), a folder will be created after running the build command. This folder will contain your HTML, CSS, JS, etc.
Firebase App Setup
- Inside of your project, open the command line and run:
firebase login
- Then run:
firebase init
- Select Hosting

- Select 'use an exciting project' and select the project you just created in Firebase.


- When it asks you about the public directory, you select the folder that was created whenever you ran your build command. E.g In React it's build, and in Angular it's dist/Your-project-name

-
When asked to configured as a web app, enter Y

-
When asked about overwriting the index.html type N

App Deployment
- run the following command:
firebase deploy
After a successfull deployment, you should see something like this:

Now, clicking on Hosting URL, should open the web app you just deployed.
- You can also access the hosting url in your Firebase console. You can also setup a custom domain via the console.

About the author