
What is Nx?
Nx is an extensible dev tool for monorepos.
"Using Nx, you can add TypeScript, Cypress, Jest, Prettier, Angular, React, Next.js, and Nest into your dev workflow. Nx sets up these tools and allows you to use them seamlessly. Nx fully integrates with the other modern tools you already use and love." - Nx Team.
Why Use Angular Libraries?
You should use Angular libraries because sharing code across one app is easy, but sharing code between different projects requires extra steps.
When we do encounter services or components that can be reused across different teams and projects, and that ideally do not change very often, we may want to build an Angular Library.
Downside Of Using Libraries?
- You have to link your library to your main project, and rebuild it on every change.
- You will need to keep syncing your project with the latest version of the library.
Advatanges Of Using Libraries?
- We need to think and build these modules with reusability in mind.
- Publish and share these libraries with other teams or projects.
What are Monorepos?
Monorepos are a source control pattern, in which essentially all of the codebase lives in the same repository. All projects will always use the latest version of the code. That's one of the reasons why Nx comes in handy when working with libraries.
Advatanges Of Using Angular Monorepos?
- Same library version for every app.
- Ease of maintenance: when you update a shared library, you update it for all apps.
- No conflicts between versions.
For more information on Angular Monorepos
Let's Get Our Hands Dirty
- Run the following command in your terminal to install Nx globally.
npm install -g @nrwl/schematics
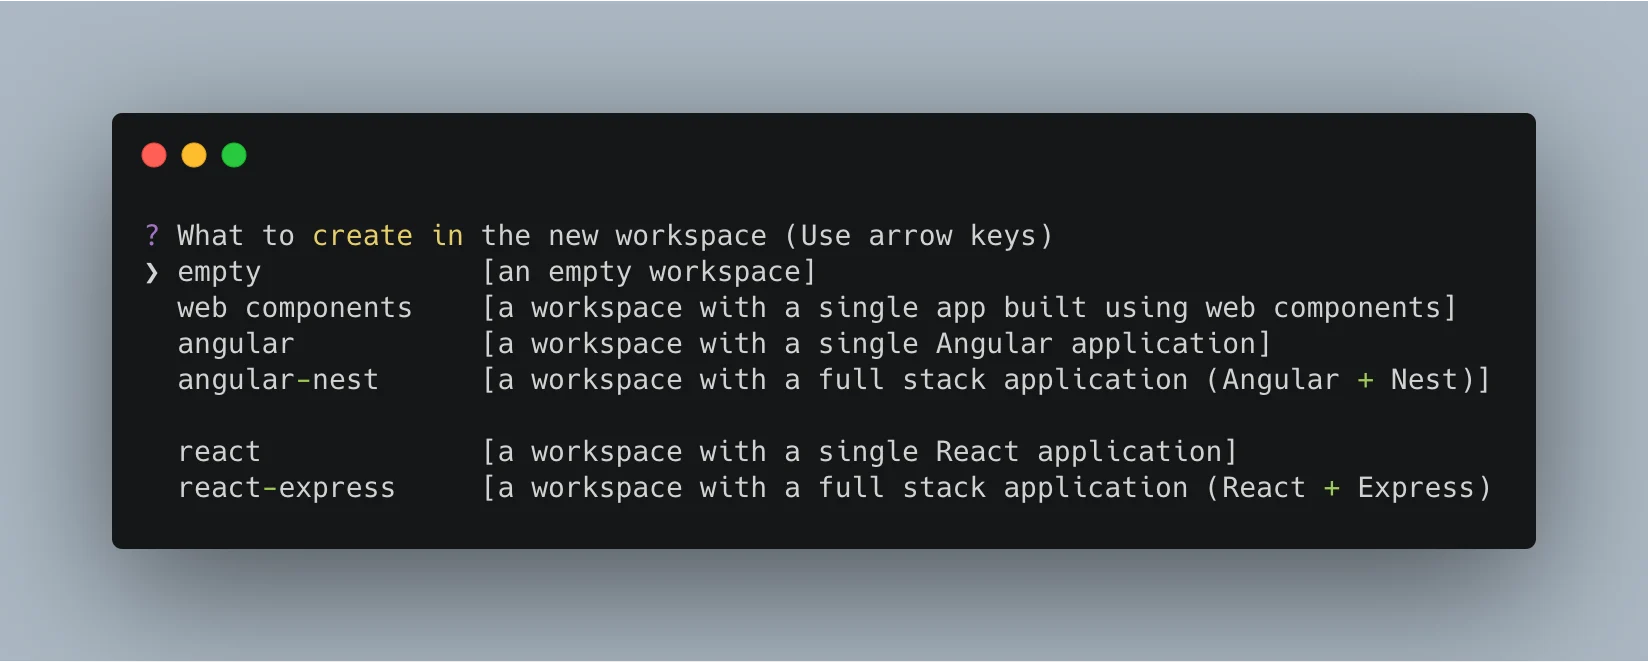
- Create a Nx Workspace. When asked about 'preset', select empty.
npx create-nx-workspace@latest thisdot
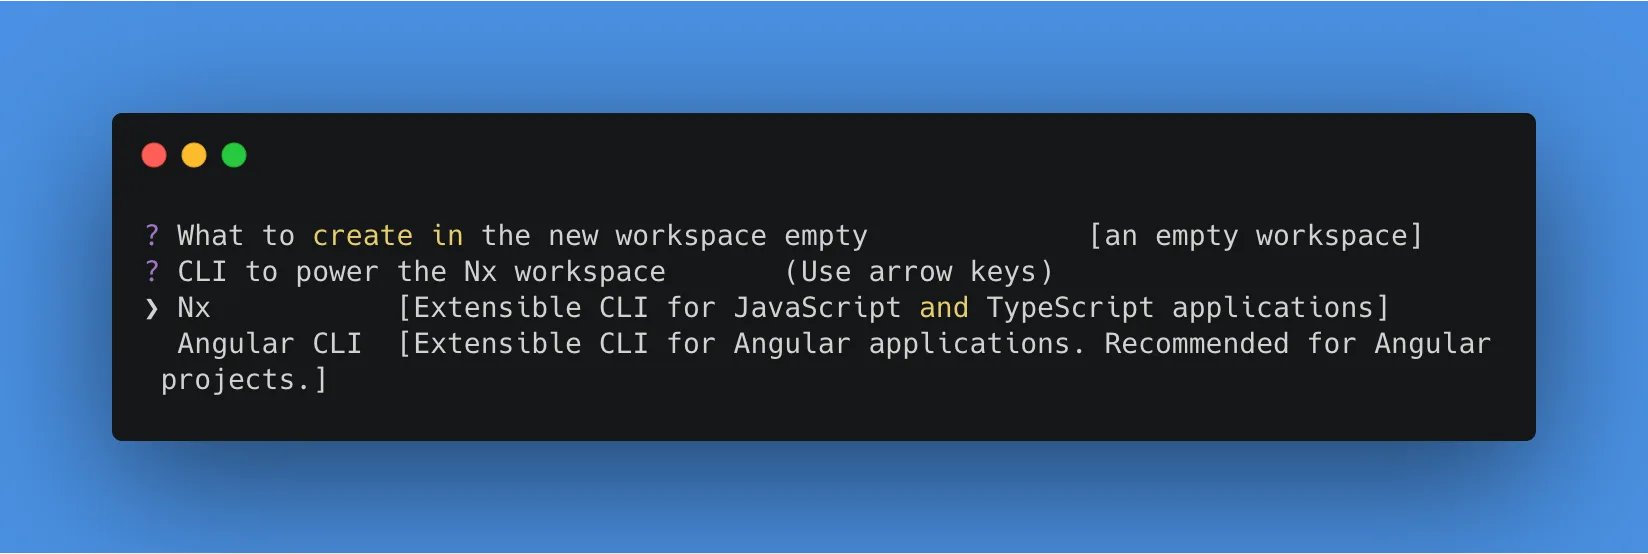
When asked what CLI should power your Nx workspace - select Angular CLi
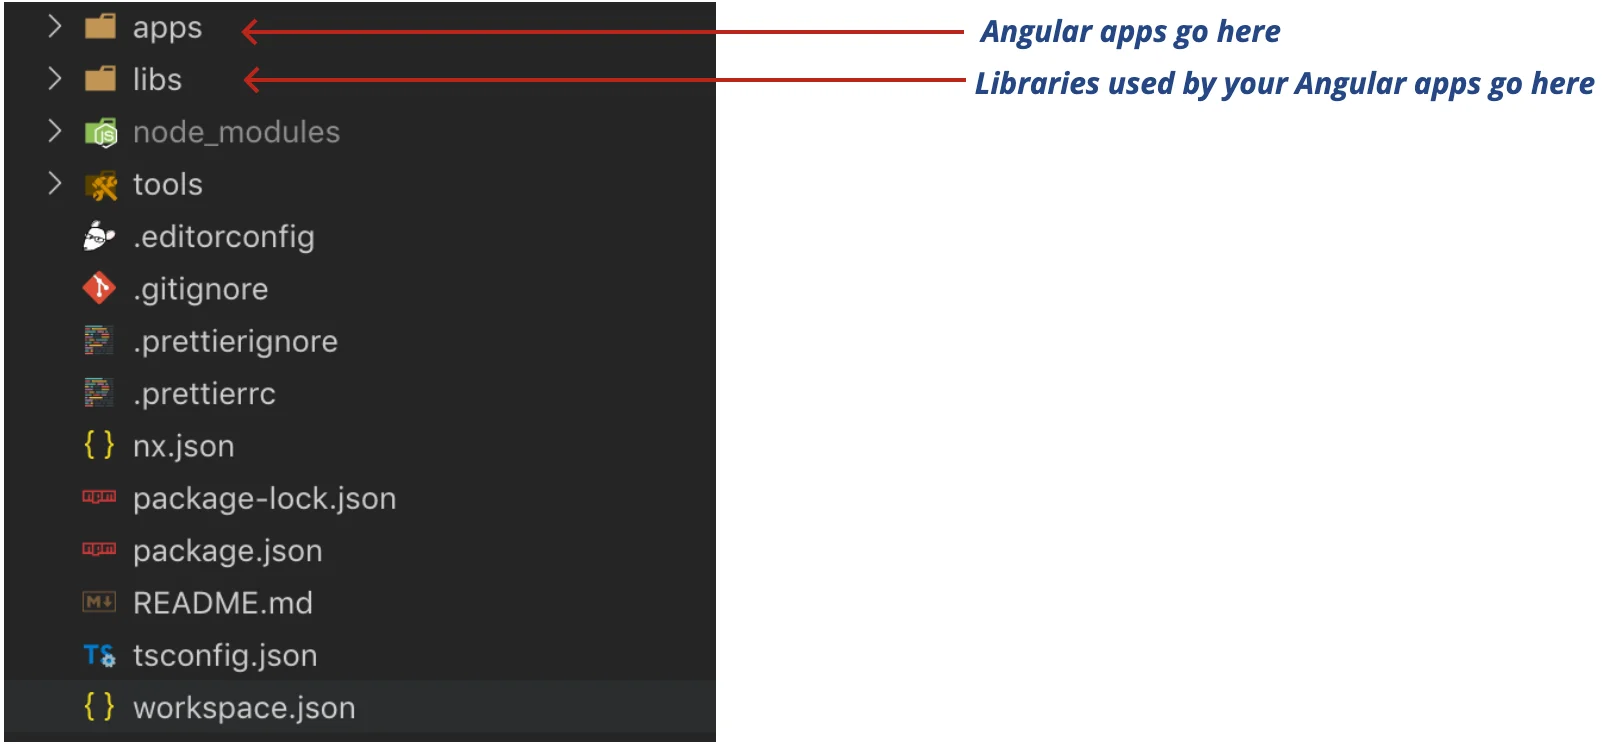
Nx Workspace Structure
- Add the capability to create Angular applications via:
ng add @nrwl/angular --defaults
- Create a new angular app inside of your Nx workspace.
ng g @nrwl/angular:application employees
Then it will ask you
which stylesheet format would you like to use. Select sass.

press enter
The next question will be,
"Would you like to configure routing for this application? (y/N)" Type y
press enter
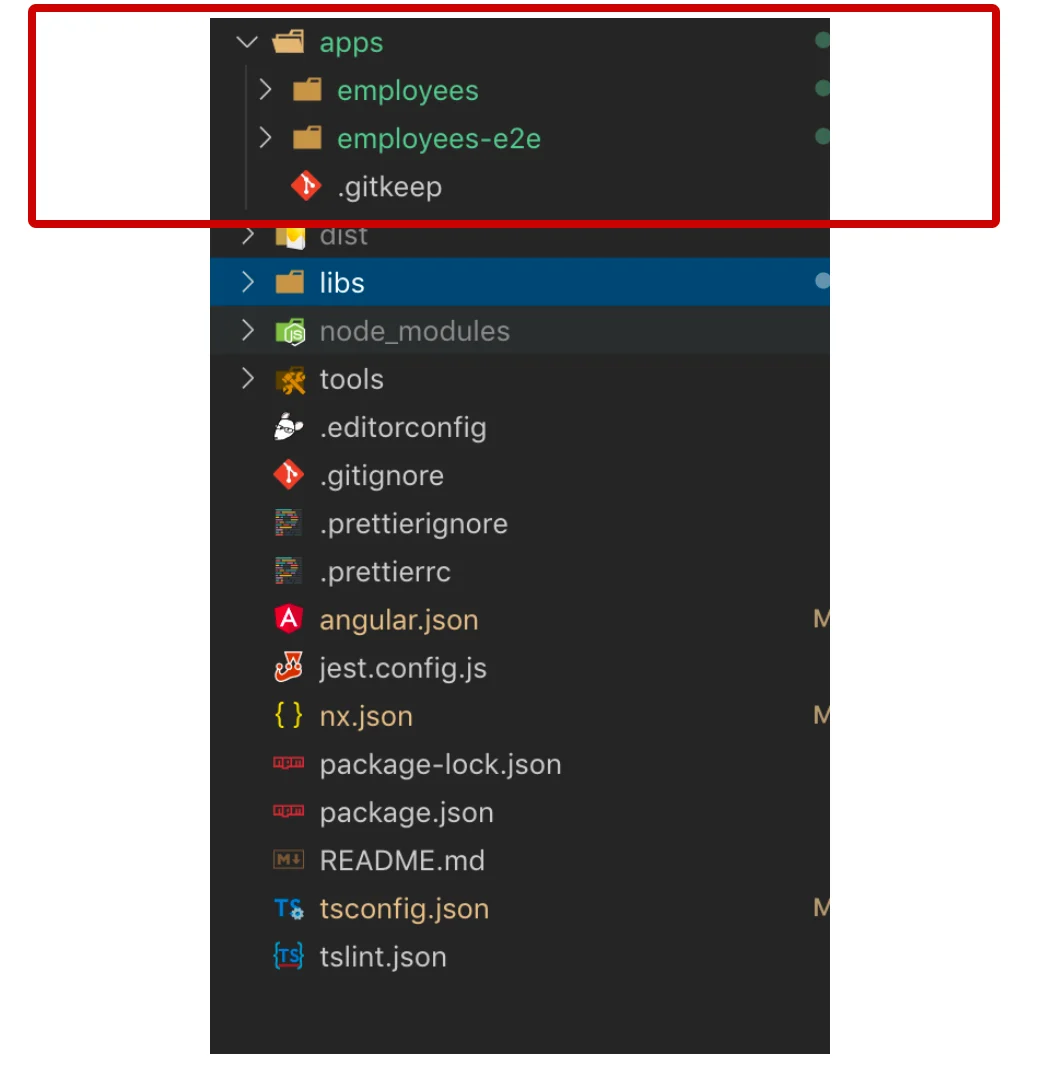
Project Structure
- Serve the Angular app, and go to http://localhost:4200.
ng serve employees
You should see something like this:

For this app, we are going to create a library that contains an employee interface that will be shared across multiple applications.
- Create a sharable interface with the following command:
ng g @nrwl/workspace:lib employee
- Go to libs/employee/src/lib/employee.ts and "copy-paste" the following:
export interface Employee {
  id: number;
  name: string;
}
- Go to your app.component.ts file inside of your
employeesapplication.
Whenever you need to use the employee's interface inside of this workspace, you will import it to your file as following:
import { Employee } from '@thisdot/employee';
Note: If You are using vscode and doens't recognize it - restart vscode.
A cool thing about Nx is that, if you have your backend inside of this workspace, you can reuse this interface as well.
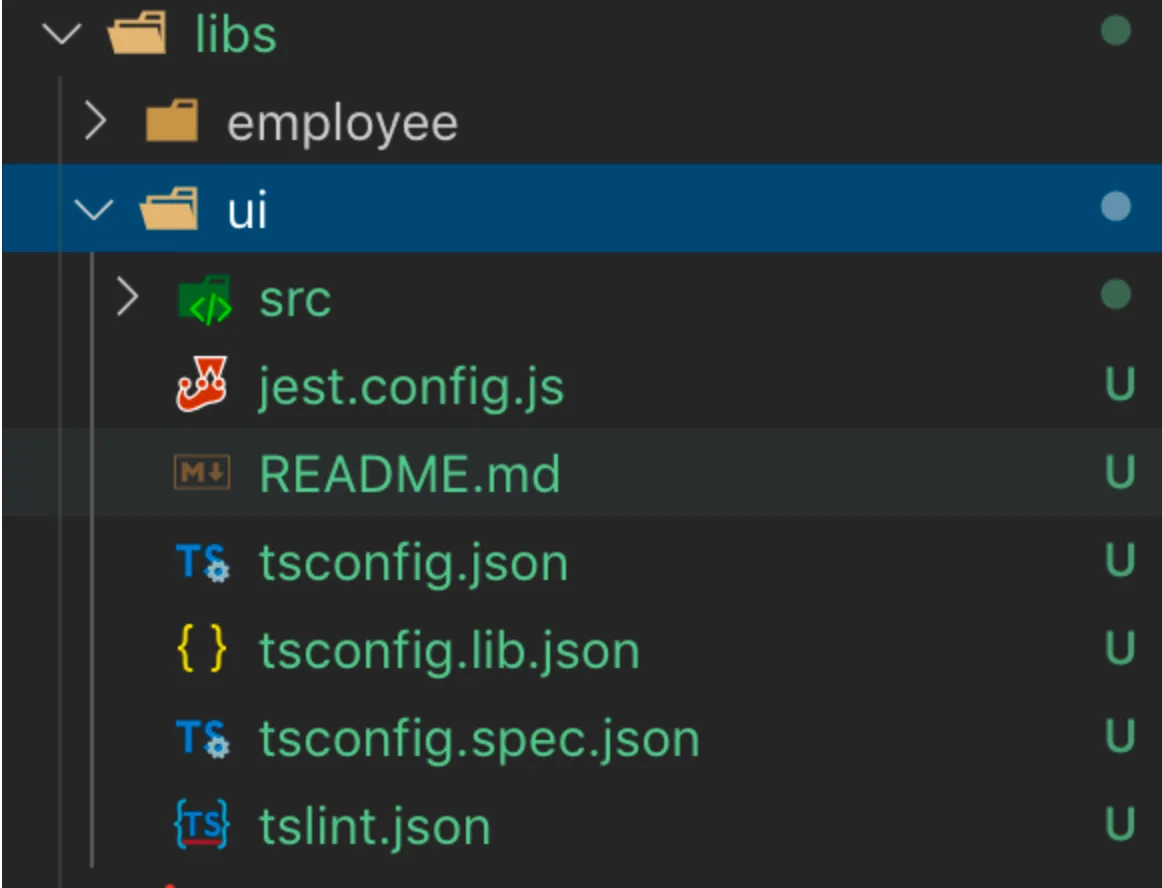
Creating A UI Library
- To create the ui library, run the following command:
ng g @nrwl/angular:lib ui
Your project structure will look like this:
- Now go to your ui.module.ts. You file should look like this:
import { NgModule } from '@angular/core';
import { CommonModule } from '@angular/common';

@NgModule({
  imports: [CommonModule]
})
export class UiModule {}
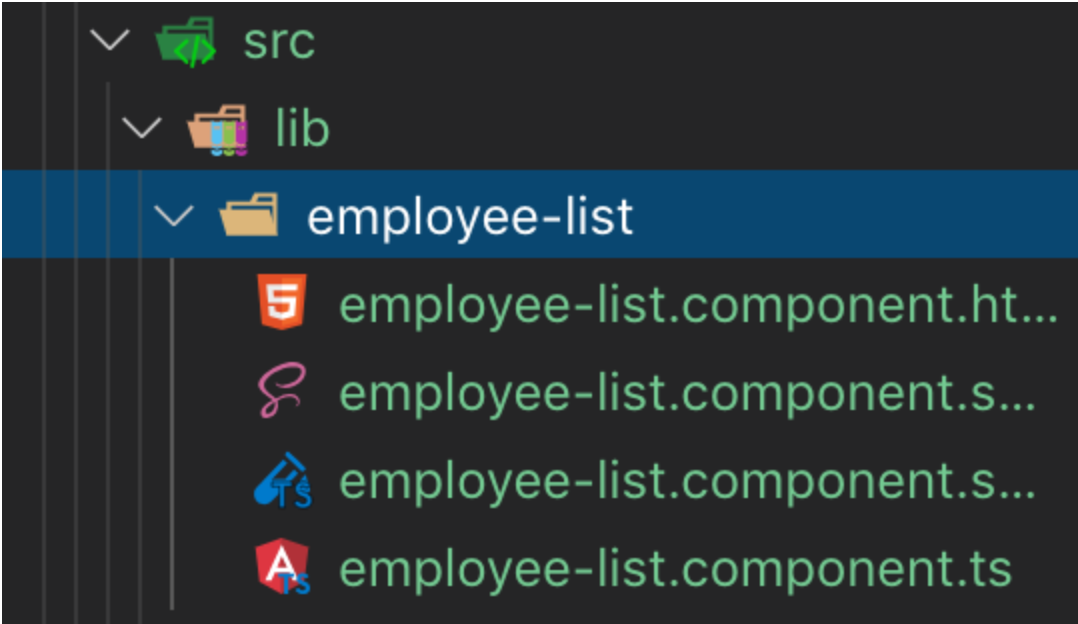
Time To Create A Component In Our UI Library
- Run the following command:
ng g component employee-list --project=ui --export
Your project structure should look like this
- Now lets go to your
employee-list.component.tsfile insdie of our ui library.
- You will add the employee interface we created.
- You will create an input that takes an array of employees.
- We will add a trackBy function just for you to see how we create one for optimization.
Your file should look like this:
import { Component, OnInit, Input } from '@angular/core';
import { Employee } from '@thisdot/employee';
@Component({
  selector: 'thisdot-employee-list',
  templateUrl: './employee-list.component.html',
  styleUrls: ['./employee-list.component.scss']
})
export class EmployeeListComponent implements OnInit {
  @Input() employees: Employee[];
  constructor() { }

  ngOnInit() {}

  trackById(employee: Employee) {
    return employee ? employee.id : null;
  }
}
- Inside of your employee.component.html file
<ul>
  <li *ngFor="let e of employees; trackBy: trackById(e)">{{ e.name }}</li>
</ul>
As you can see, I'm using the trackBy function to promote better performance of our app.
For more information on trackby visit this link.
Creating A Service
- Run the following command to create a service inside of our ui library:
ng g s employee --project=ui
- Now go to your ui library, and search for your employee.service file, and make sure it looks like the following:
import { Injectable } from '@angular/core';
import { HttpClient } from '@angular/common/http';
import { Employee } from '@thisdot/employee';
import { Observable } from 'rxjs';

@Injectable({
  providedIn: 'root'
})
export class EmployeeService {
  employees$: Observable<Employee[]>;
  constructor(private http: HttpClient) {
    this.employees$ = this.http.get<Employee[]>(
      'https://my-json-server.typicode.com/devpato/nx-fake-data/employees'
    );
  }
}
- Now go to your index.ts file
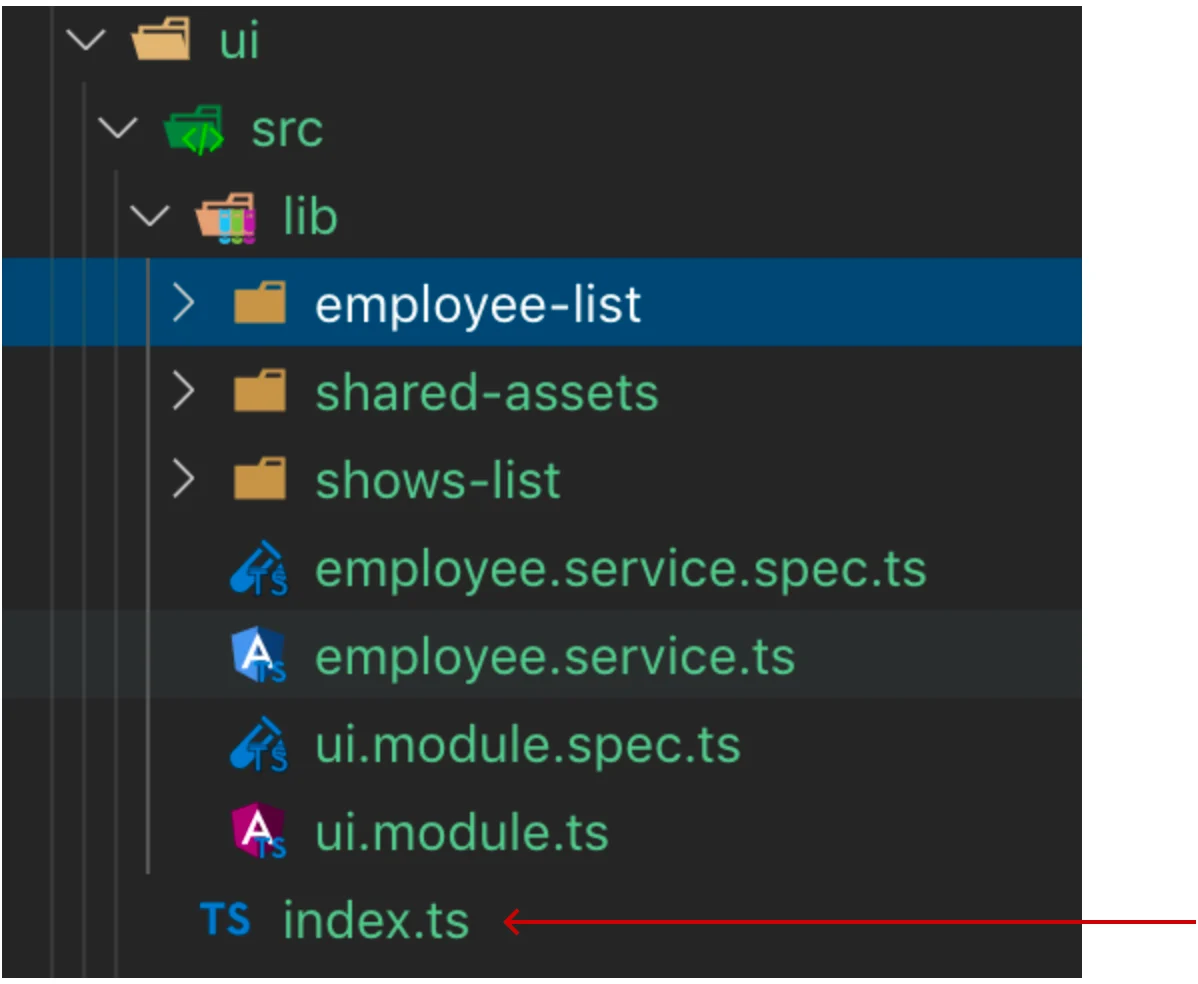
- Add the service to your file. Your file should look like this:
export * from './lib/ui.module';
export * from './lib/employee.service';
- Now go to your ui.module.ts. The file should look like this:
import { NgModule } from '@angular/core';
import { CommonModule } from '@angular/common';
import { HttpClientModule } from '@angular/common/http';
import { EmployeeListComponent } from './employee-list/employee-list.component';

@NgModule({
  imports: [CommonModule, HttpClientModule],
  declarations: [EmployeeListComponent],
  exports: [EmployeeListComponent]
})
export class UiModule {}
Note: you can see I have added the HttpClientModule and Nx has added the component for me already.
Time To Use Our UI Library
- Go to your employees app, and open the app.module.ts
- Inject our library at the top of the file
- Then add it to your imports
import { BrowserModule } from '@angular/platform-browser';
import { NgModule } from '@angular/core';
import { AppComponent } from './app.component';
import { RouterModule } from '@angular/router';
import { HttpClientModule } from '@angular/common/http';
import { UiModule } from '@thisdot/ui';

@NgModule({
  declarations: [AppComponent],
  imports: [
    UiModule,
    HttpClientModule,
    BrowserModule,
    RouterModule.forRoot([], { initialNavigation: 'enabled' })
  ],
  providers: [],
  bootstrap: [AppComponent]
})
export class AppModule {}
Our Ui library is ready to be used in this project.
- Now, open your app.component.html file inside of your employees app, and copy paste the following code.
<div class="employees-container">
  <img src="../assets/images/logotdm.png" />
  <h1>Employees</h1>
  <thisdot-employee-list
  [employees]="employeeService.employees$ | async">
  </thisdot-employee-list>
</div>
- This is where I'm injecting the employee-list component we created.
- Open in your app.component.ts, and change it to match the example below:
import { Component } from '@angular/core';
import { EmployeeService } from '@thisdot/ui';

@Component({
  selector: 'thisdot-root',
  templateUrl: './app.component.html',
  styleUrls: ['./app.component.scss']
})
export class AppComponent {
  constructor(private employeeService: EmployeeService) {}
}
As you can see, I'm injecting the service we created inside of the ui library.
- Go to your app.component.scss file, and add the following code.
.employees-container {
  display: flex;
  width: 100%;
  height: 100vh;
  flex-direction: column;
  justify-content: center;
  align-items: center;
  img {
    width: 200px;
  }
}
Bonus (Shared Assests)
Now, I'm Going to Show You How to Share Assets Between Projects.
- Go to your ui library, and create a subfolder called 'shared-assets', then create another folder called 'images', and add an image there. Then name it as shown on the picture.

- Now go to your angular.json, and find assets.
Your file should look like this:
"assets": [
             "apps/employees/src/favicon.ico",
              "apps/employees/src/assets",
            {
              "glob": "**/*",
              "input": "./libs/ui/src/lib/shared-assets",
              "output": "./assets"
            }
          ]
Restart VS Code to make sure it detects all the changes.
Time To Test Our App
- In your command line run:
ng serve employees

And We Are Done! :)
About Author:
Pato Software Engineer at This Dot | Auth0 Ambassador Twitter: devpato Stackoverflow: devpato Github: devpato AngularJax Meetup Founder


